Introduction
Before users can be assigned to a customer in the License Management Portal (LMP), that customer account needs to be created for the volume license (MDR Core, Complete, Cloud). Once the customer is created, you can assign unallocated users to that customer account.
This article walks through the process of onboarding a new customer into the LMP, and covers the following:
- Begin the Onboarding Process
- Provide Customer Details
- Select the Appropriate Deployment Solution
- Shipping the Appliance(s)
- Submitting the Onboarding Request
The following section uses the Complete MDR as an example but applies to Core MDR identically.
Begin the Onboarding Process
From the Customer Onboarding tab, select the license you want to add the new customer to. For this example, select Complete MDR.

You will be taken to the customer onboarding form for that license allocation. You will first be presented with a section asking you to confirm whether or not the customer is experiencing a breach or incident.
After confirming that the customer is not experiencing a breach or incident, the rest of the form will become visible.

Provide Customer Details
For the new customer, please provide the following information about your new customer in the form:
- Customer Legal Name: the name of the customer being onboarded. This should be their legal name, as it will be used as their account name in the MDR Portal, LMP, and elsewhere.
- Web Site (optional): helps us verify the customer you want to onboard.
- Sub-Partner: if you're sharing the same volume license with other partner accounts, add them to the Sub-Partner field. This is an uncommon deployment style that is usually left empty. If you are unsure, ignore this field.
- MDR Portal Administrator Email: this email address should belong to the initial administrator this client account in the MDR Portal. They will be used as the onboarding point of contact, and given immediate access to create their MDR Portal account.
- MDR <Tier> Users: the total number of users you want to allocate to the customer. This will reflect the service tier (Core, Complete, etc.) you are onboarding the customer to. This number of users will automatically be allocated from the "Users Available" in this service tier.
- MDR Cloud Users: the number of users in addition to, and separate from, the total MDR <tier>users. These users have access to cloud monitoring only.
- Beauceron SAT Users: if the new client organization plans on leveraging our Beauceron SAT add-on, provide the number of users here (This is only available for the MDR Complete service tier).

Select the Appropriate Deployment Solution
For general information about our network appliances, visit our Help Center chapter on appliances.

To see scoping scenarios with examples, see Choosing the Appliance: Example Scenarios
You will then need to select the appropriate deployment solution for the new end client. If the end client has less than 10 users, or doesn't require network packet analysis, our fully virtual solution would be appropriate.
If the client is managing a network that they would like to monitor, the Network sensor for 1 location would be the appropriate deployment solution. For more details and examples, see our article on selecting the appropriate deployment solution.
When selecting the fully virtual deployment solution, you will need to select their appropriate hoisting region.

When selecting a deployment solution that includes physical hardware, you will need to select the shipping location, which is covered in the following chapter.
Shipping the Appliance(s)
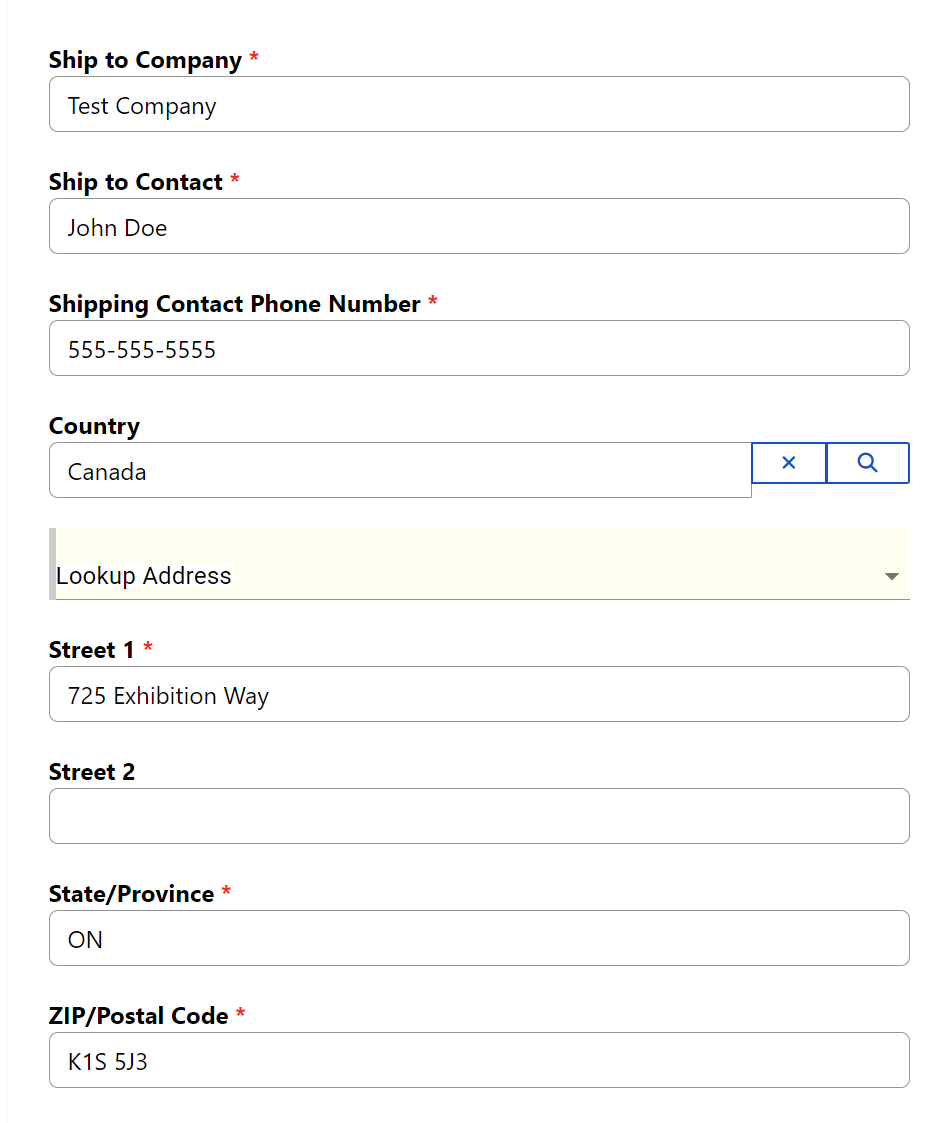
After you have selected the primary appliance, you can choose to have it shipped to your default partner address, or to a custom address.
After making you selection (default or custom), fill out and confirm the remaining details. After you have confirmed the details are correct, you are ready to submit the onboarding request.
Shipping Multiple Appliances
If you have to ship more than one appliance, you will have the option to choose multiple shipping addresses for each appliance. If you chose this method, a final field will be added to the form asking you to select which appliance the address is for.
Once you have entered the address for each appliance, and added them to the list on the right, you are ready to submit the onboarding request.

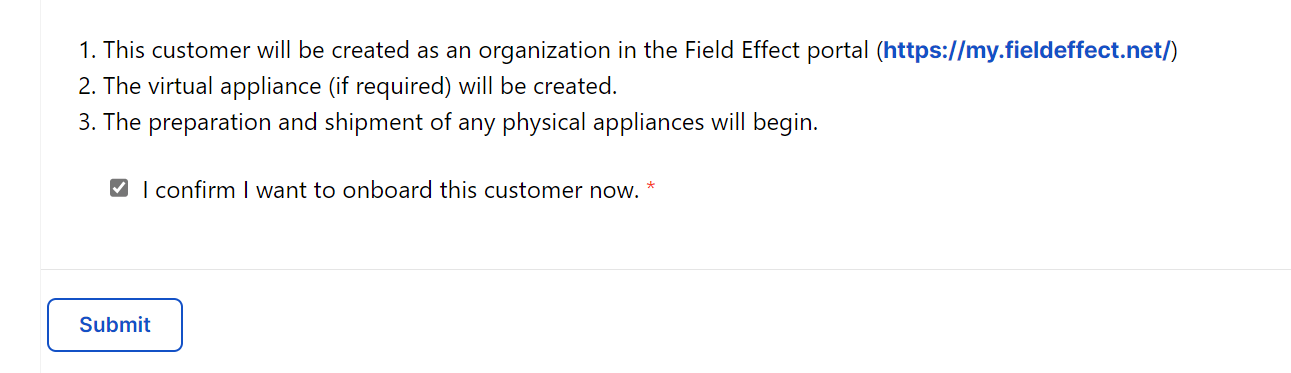
Submitting the Onboarding Request
After confirming that all the information you have provided is accurate, check the confirmation box and click Submit to finish your onboarding request.
After the order is processed, you will be taken to a page confirming your new user and notifying you that an email will be sent to you.
![]()
Was this article helpful?
That’s Great!
Thank you for your feedback
Sorry! We couldn't be helpful
Thank you for your feedback
Feedback sent
We appreciate your effort and will try to fix the article