Introduction
For partners managing multiple Field Effect deployments, it’s common to send reports (weekly, monthly, and executive summary) and other notifications (AROs, Active Response endpoint notifications) to end clients. The MDR Portal’s co-branding functionality allows partners to add their own logo and contact information into these reports and notifications, helping create a unified experience across partner communications.
Once configured, all future reports and notifications will incorporate your co-branding theme. This will not affect earlier reports. If you disable the configuration, reports generated after removing your co-branding theme will use Field Effect’s branding, and reports generated while the co-branding theme was enabled will not revert back to Field Effect branding.
This article walks through the process of configuring a co-branding theme and provides examples of reporting with a co-branding theme in place:
Video Overview
Configuring a Co-Branding Theme
To set up a co-branding theme, ensure that the organization selector is set to the partner view (your MSP’s company name).

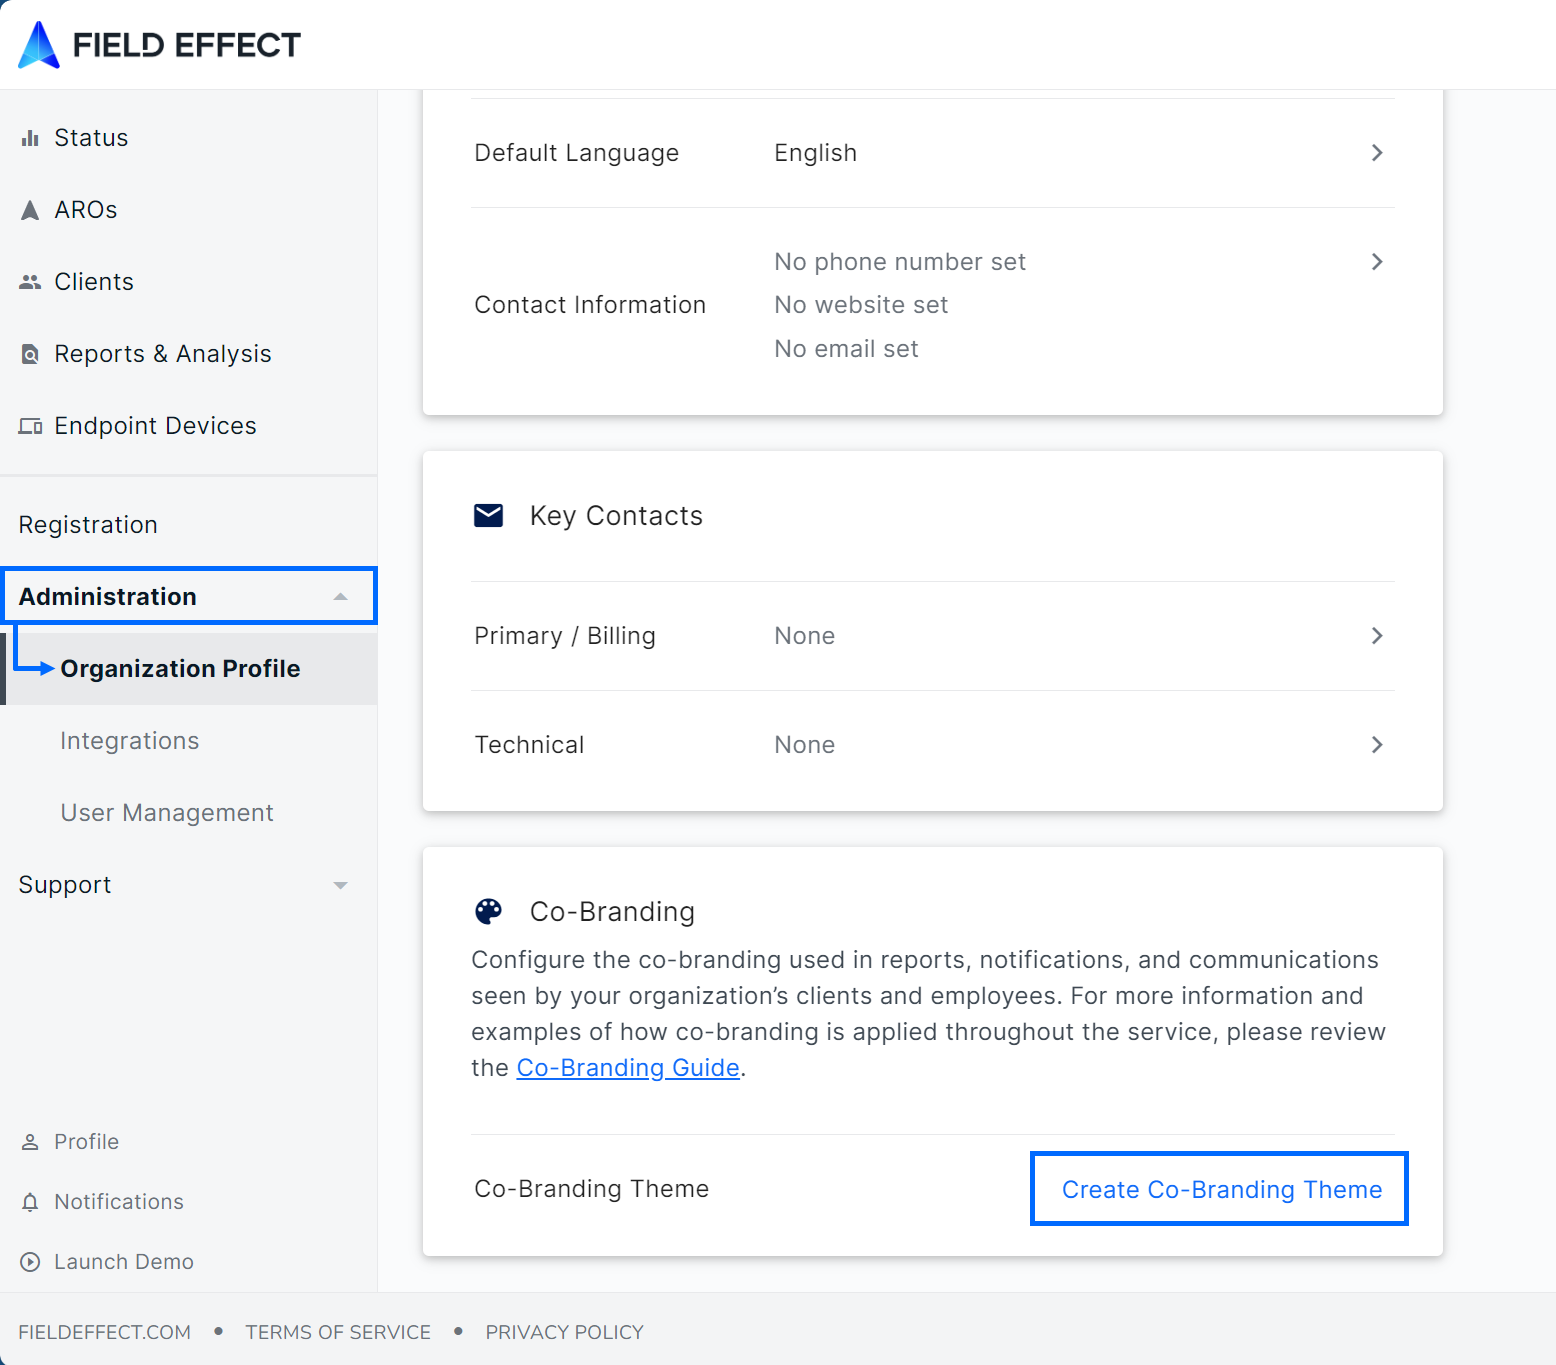
Once the organization selector is properly set, navigate to the Organization Profile page (Administration section). Once your organization profile is complete, click Create Co-Branding Theme within the Co-Branding section of the page.
Note: The contact information used for your co-branding theme is based on your organization profile. Please ensure that your organization profile is accurate and up to date before continuing.
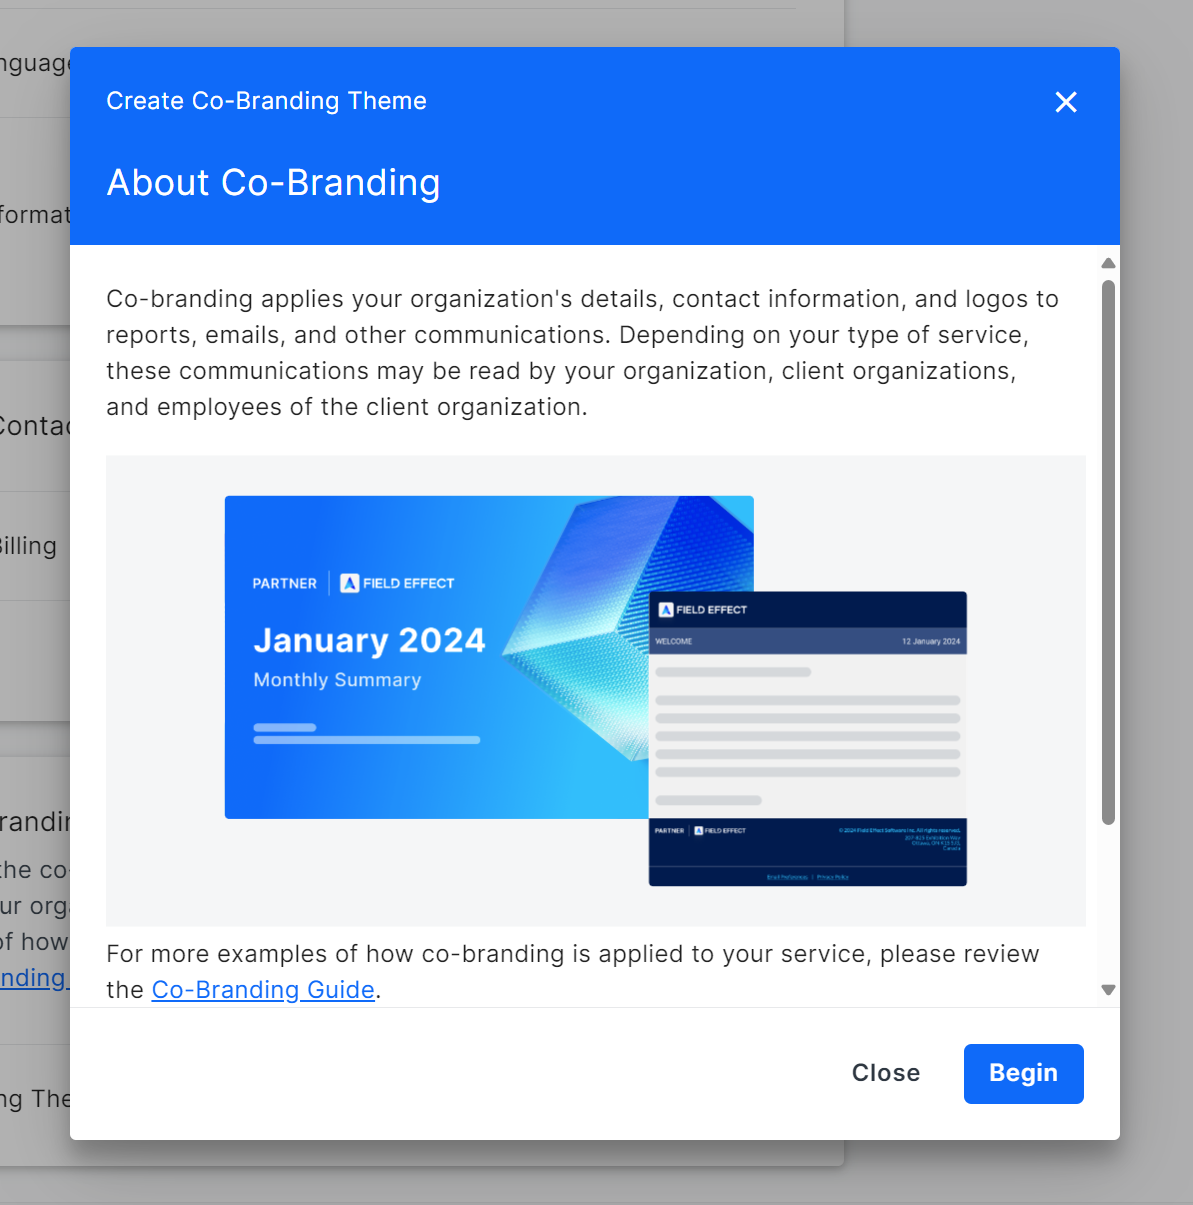
The Create Co-Branding Theme form will open. Click Begin to start configuring a co-branding theme for your organization.
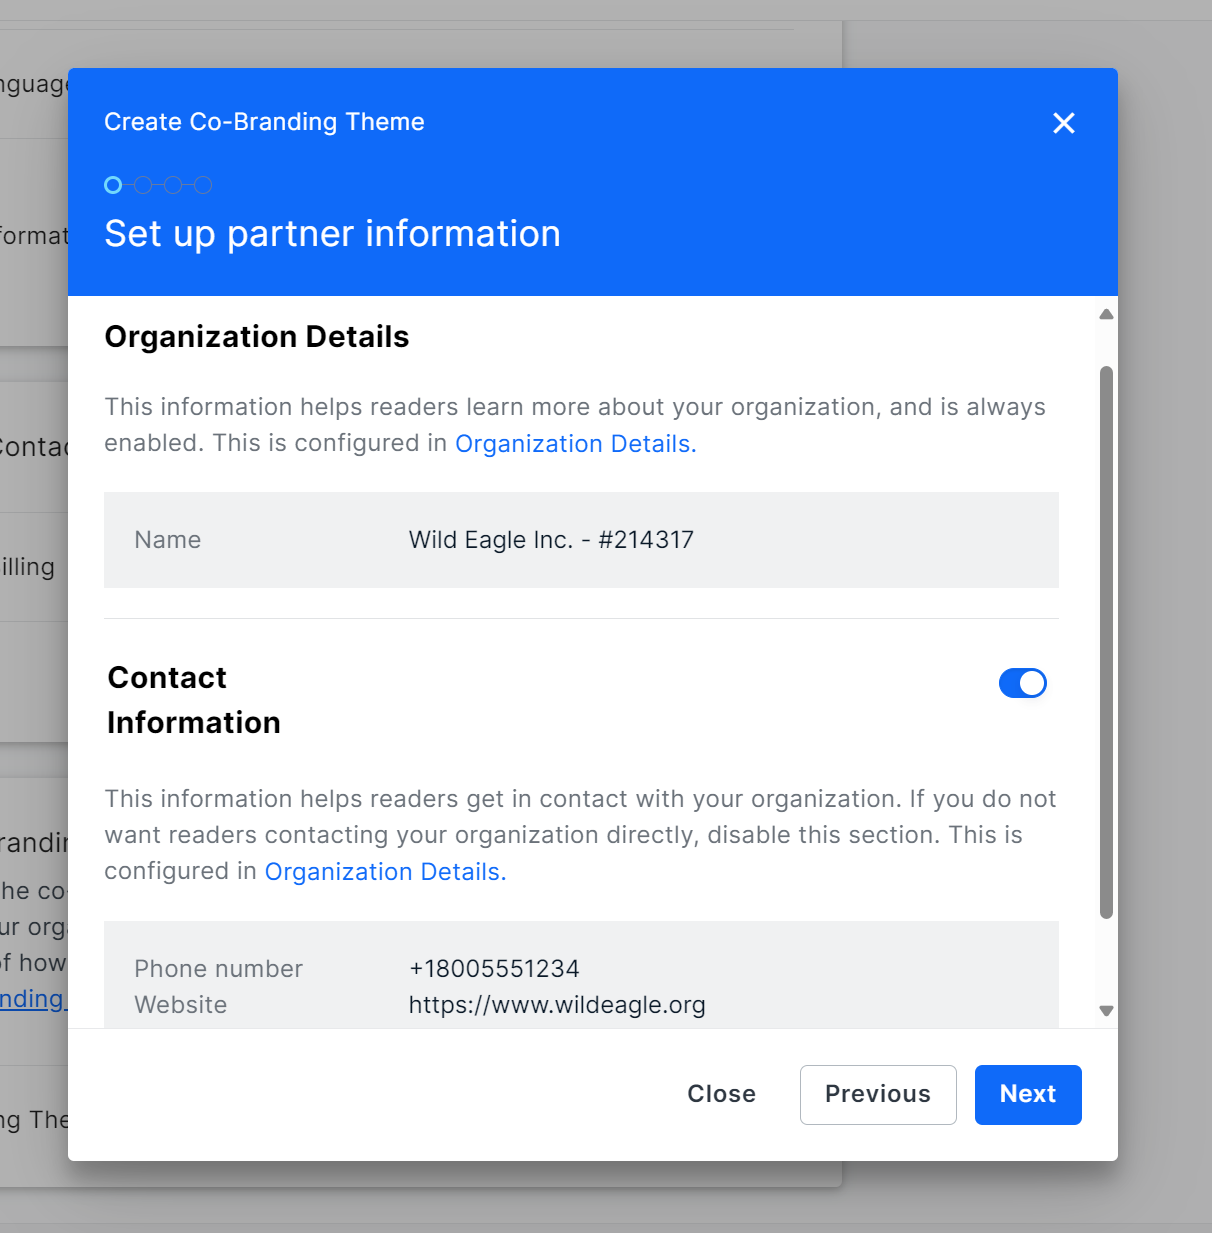
The first step is to configure partner information, and this uses the information provided in your organization profile. Before continuing, ensure that you have completed your organization profile. To learn more, visit The Organization Profile: Overview.
You need at least one metric in your organization profile to enable the Contact Information toggle. If your organization profile has content provided, and you want to use that information, enable the toggle. If this toggle is disabled, Field Effect’s contact information will be used on notifications and email communications.
After making your selection, click Next.
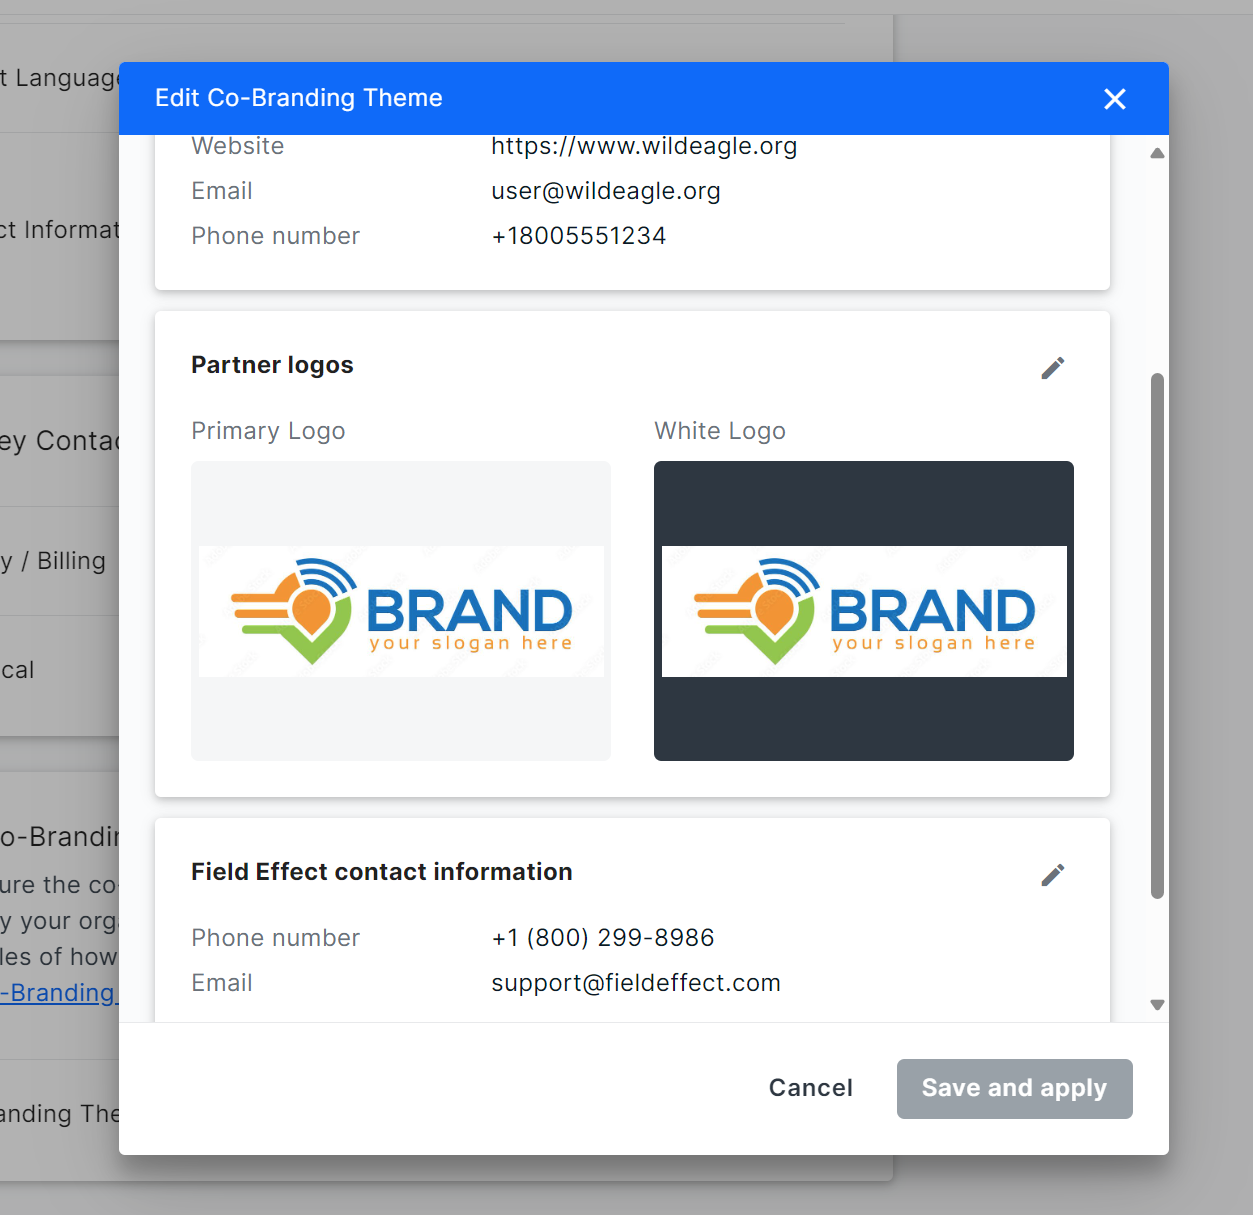
The second step of the co-branding wizard requires you to upload and select your primary and white partner logos. You can also choose to use your organization’s name (as shown in the portal).
- Primary Logo: Your main brand image, which is used for light backgrounds.
- White Logo: Ensures that your brand can be seen against dark backgrounds.
- Organization Name: Selecting Use organization name will show your organization’s name in text wherever a brand logo would be used.
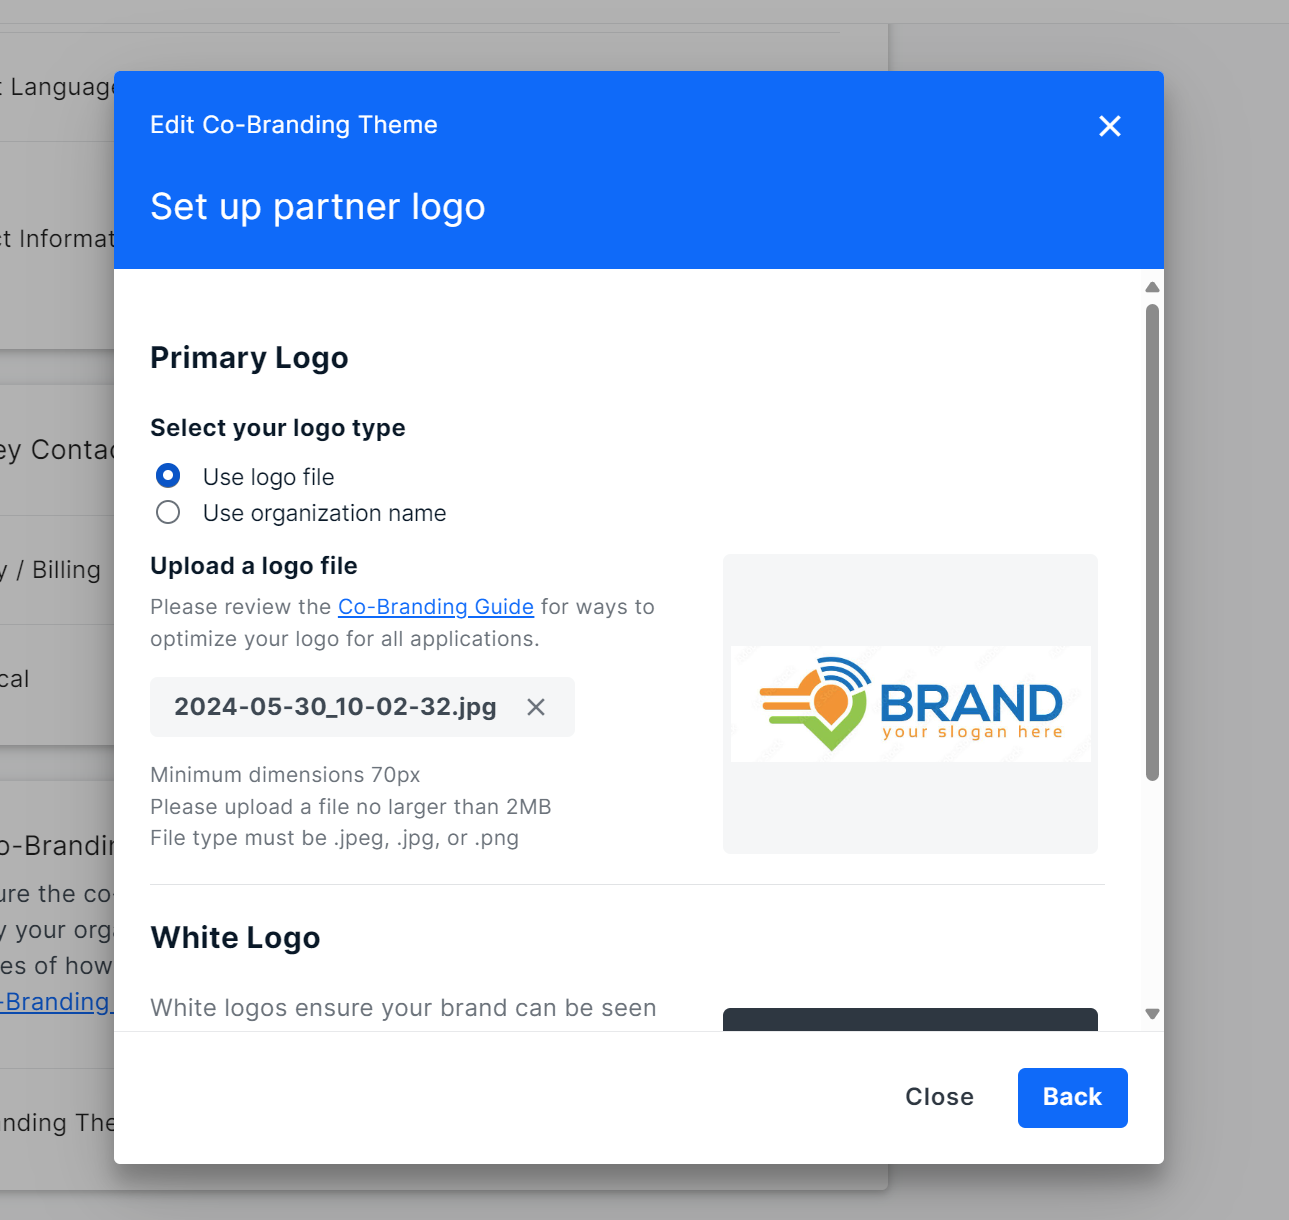
Brand logo image files have the following requirements:
- Must have minimum dimensions of 70 pixels (px).
- A ratio in between 3x1 or 5x1 is optimal (ex: 800x200px or 1000x200px) for logos.
- If your logo can’t fit within these dimensions, or meet the ratio requirements, we recommend selecting the Use organization name option.
- If you don’t have a version of your logo for dark backgrounds, we recommend using a logo file that uses a white background.
- File size limit of 3MB.
- Must be either a .jpeg, .jpg, or .png file type.
After uploading your primary and white logos, or selecting your organization name, click Next.
Note: You can use your primary logo as the white logo if preferred.

The next step of the wizard requires you to configure Field Effect’s contact information. Keeping this toggle switch enabled will use Field Effect’s contact information across reports and notifications. If you do not want your end clients to contact Field Effect directly, disable this toggle switch. After making your section, click Next.
Note: this toggle depends on whether you enabled Contact Information during step 1. If you did not enable Contact Information, Field Effect’s contact information can’t be disabled.

The image below shows the end of a report that includes Field Effect’s contact information. If you deselect Field Effect contact information, Field Effect’s email and phone number will be removed. Note that Field Effect’s logo and website link will always remain visible.

The final step of the form is to verify your choices. After verifying your brand logos and contact information, click Save and Apply.
Viewing Theme Samples
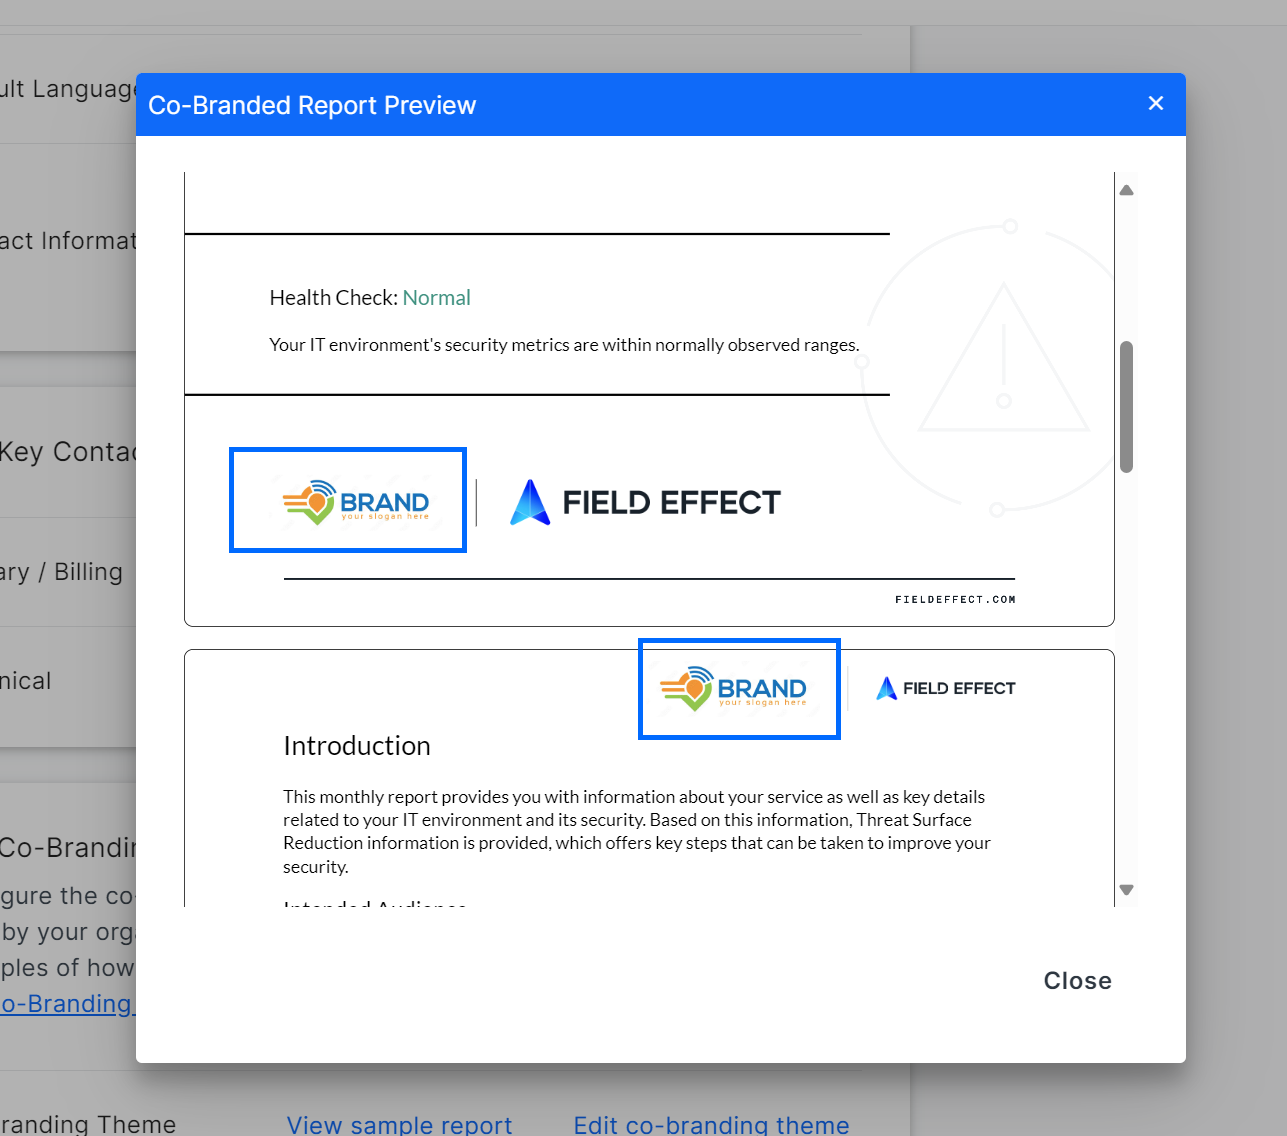
After creating a theme, you can view a sample report that uses your current co-branding theme. Click View sample report to start (Administration section's Organization Profile page).

A monthly report sample will appear in a new window. You can review the images used in your theme, as well as contact information.
Editing and Removing a Theme
If you want to make changes or remove your theme altogether, navigate back to the co-branding section of the Organization Profile page (Administration Section) and click Edit Co-Branding Theme.

The Edit Co-Branding Theme wizard will open. Click the pencil icon for each section to make changes. To delete the theme entirely, scroll to the bottom of the wizard and click REMOVE THEME.

You will be asked to confirm your choice. Clicking REMOVE THEME from this confirmation window will remove the theme completely.

Was this article helpful?
That’s Great!
Thank you for your feedback
Sorry! We couldn't be helpful
Thank you for your feedback
Feedback sent
We appreciate your effort and will try to fix the article