Introduction
The SEAS Outlook add-in is the interface used to submit suspicious emails received in Outlook to the Suspicious Email Analysis Service (SEAS) for analysis. This article walks through the install process for our SEAS add-in for Microsoft Outlook.
This installation will add the SEAS plugin for the Outlook desktop apps, and the Outlook mobile app for Android and iOS.
After upgrading the add-in (see Upgrading the add-in below), we recommend clearing your Office cache to remove any potential traces of the old add-in, such as legacy app images.
This article covers the following topics
Install the Add-in
The following steps describe the process for installing the SEAS Outlook Add-in.
Prerequisites
Before being able to install the Outlook add-in we suggest you read the following guides:
Obtain the SEAS Outlook add-in
The SEAS Outlook add-in is deployed from the Microsoft 365 Admin Center.
Since SEAS is a customized app and not available in the store you will not be able to simply search for it within the Admin Center. Instead, you will need to define the Field Effect SEAS manifest file URL from which it will be installed.
The manifest file URL is:
https://seas2.fieldeffect.net/plugin.xml
The following Microsoft documentation explains how to deploy add-ins:
Deploy the add-in
Please note that it may take up to 24 hours for new add-in deployment to show up for all users. See Microsoft's Centralized Deployment FAQs for more.
Begin by logging into the Microsoft 365 Admin Center. Navigate to the Integrated apps page, found in the sidebar’s Settings section.
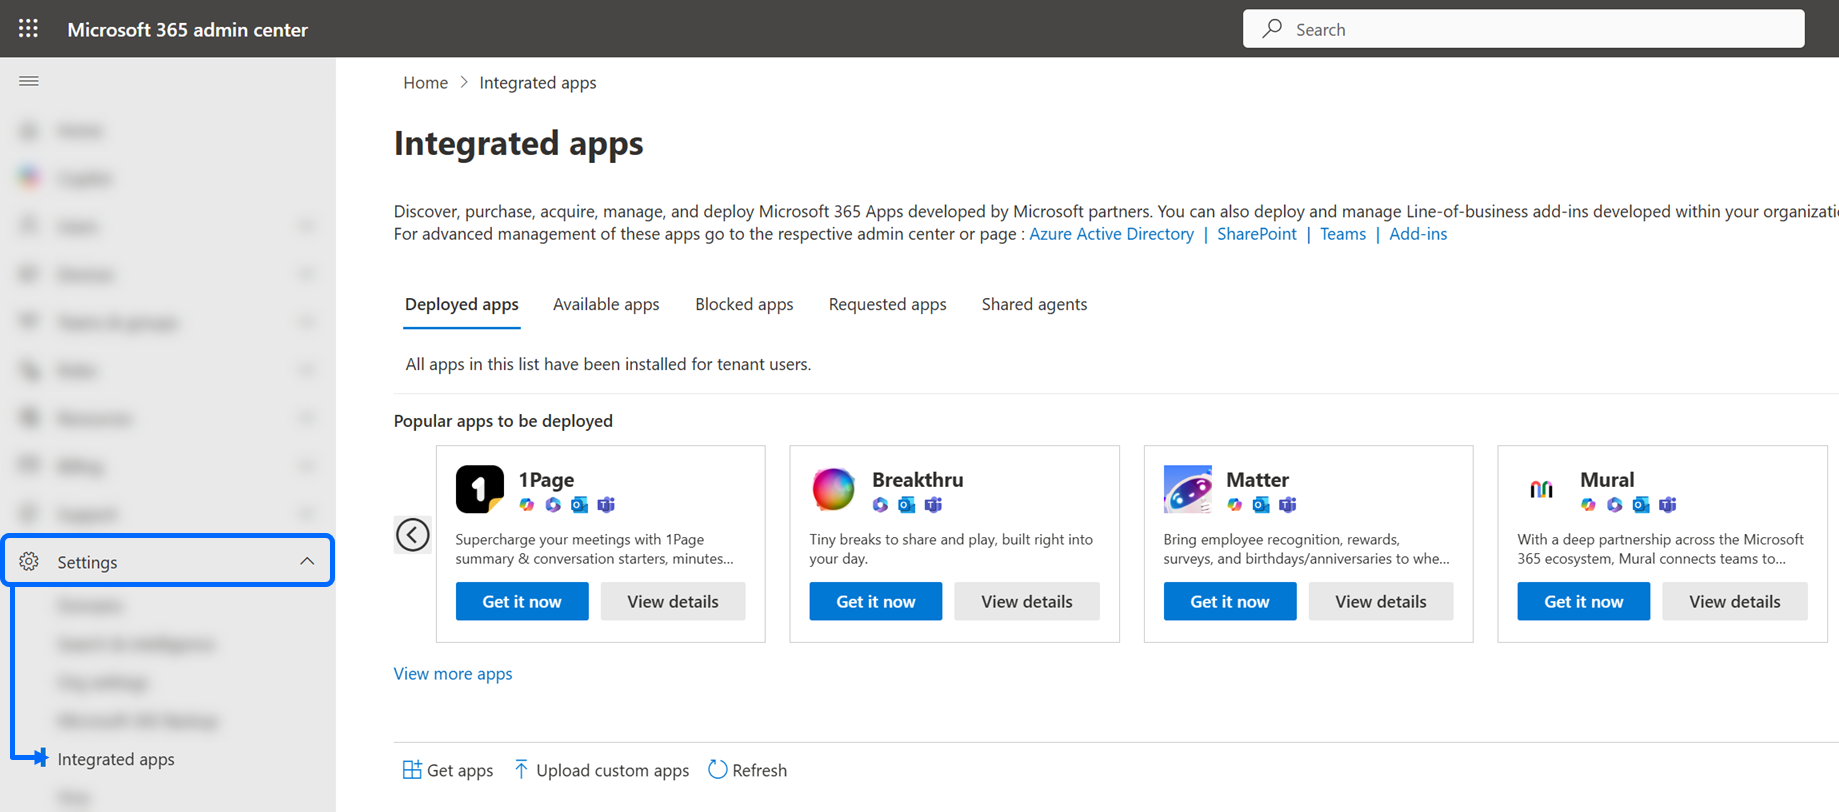
On the Integrated apps page, click the Add-ins link. at the end of the description.

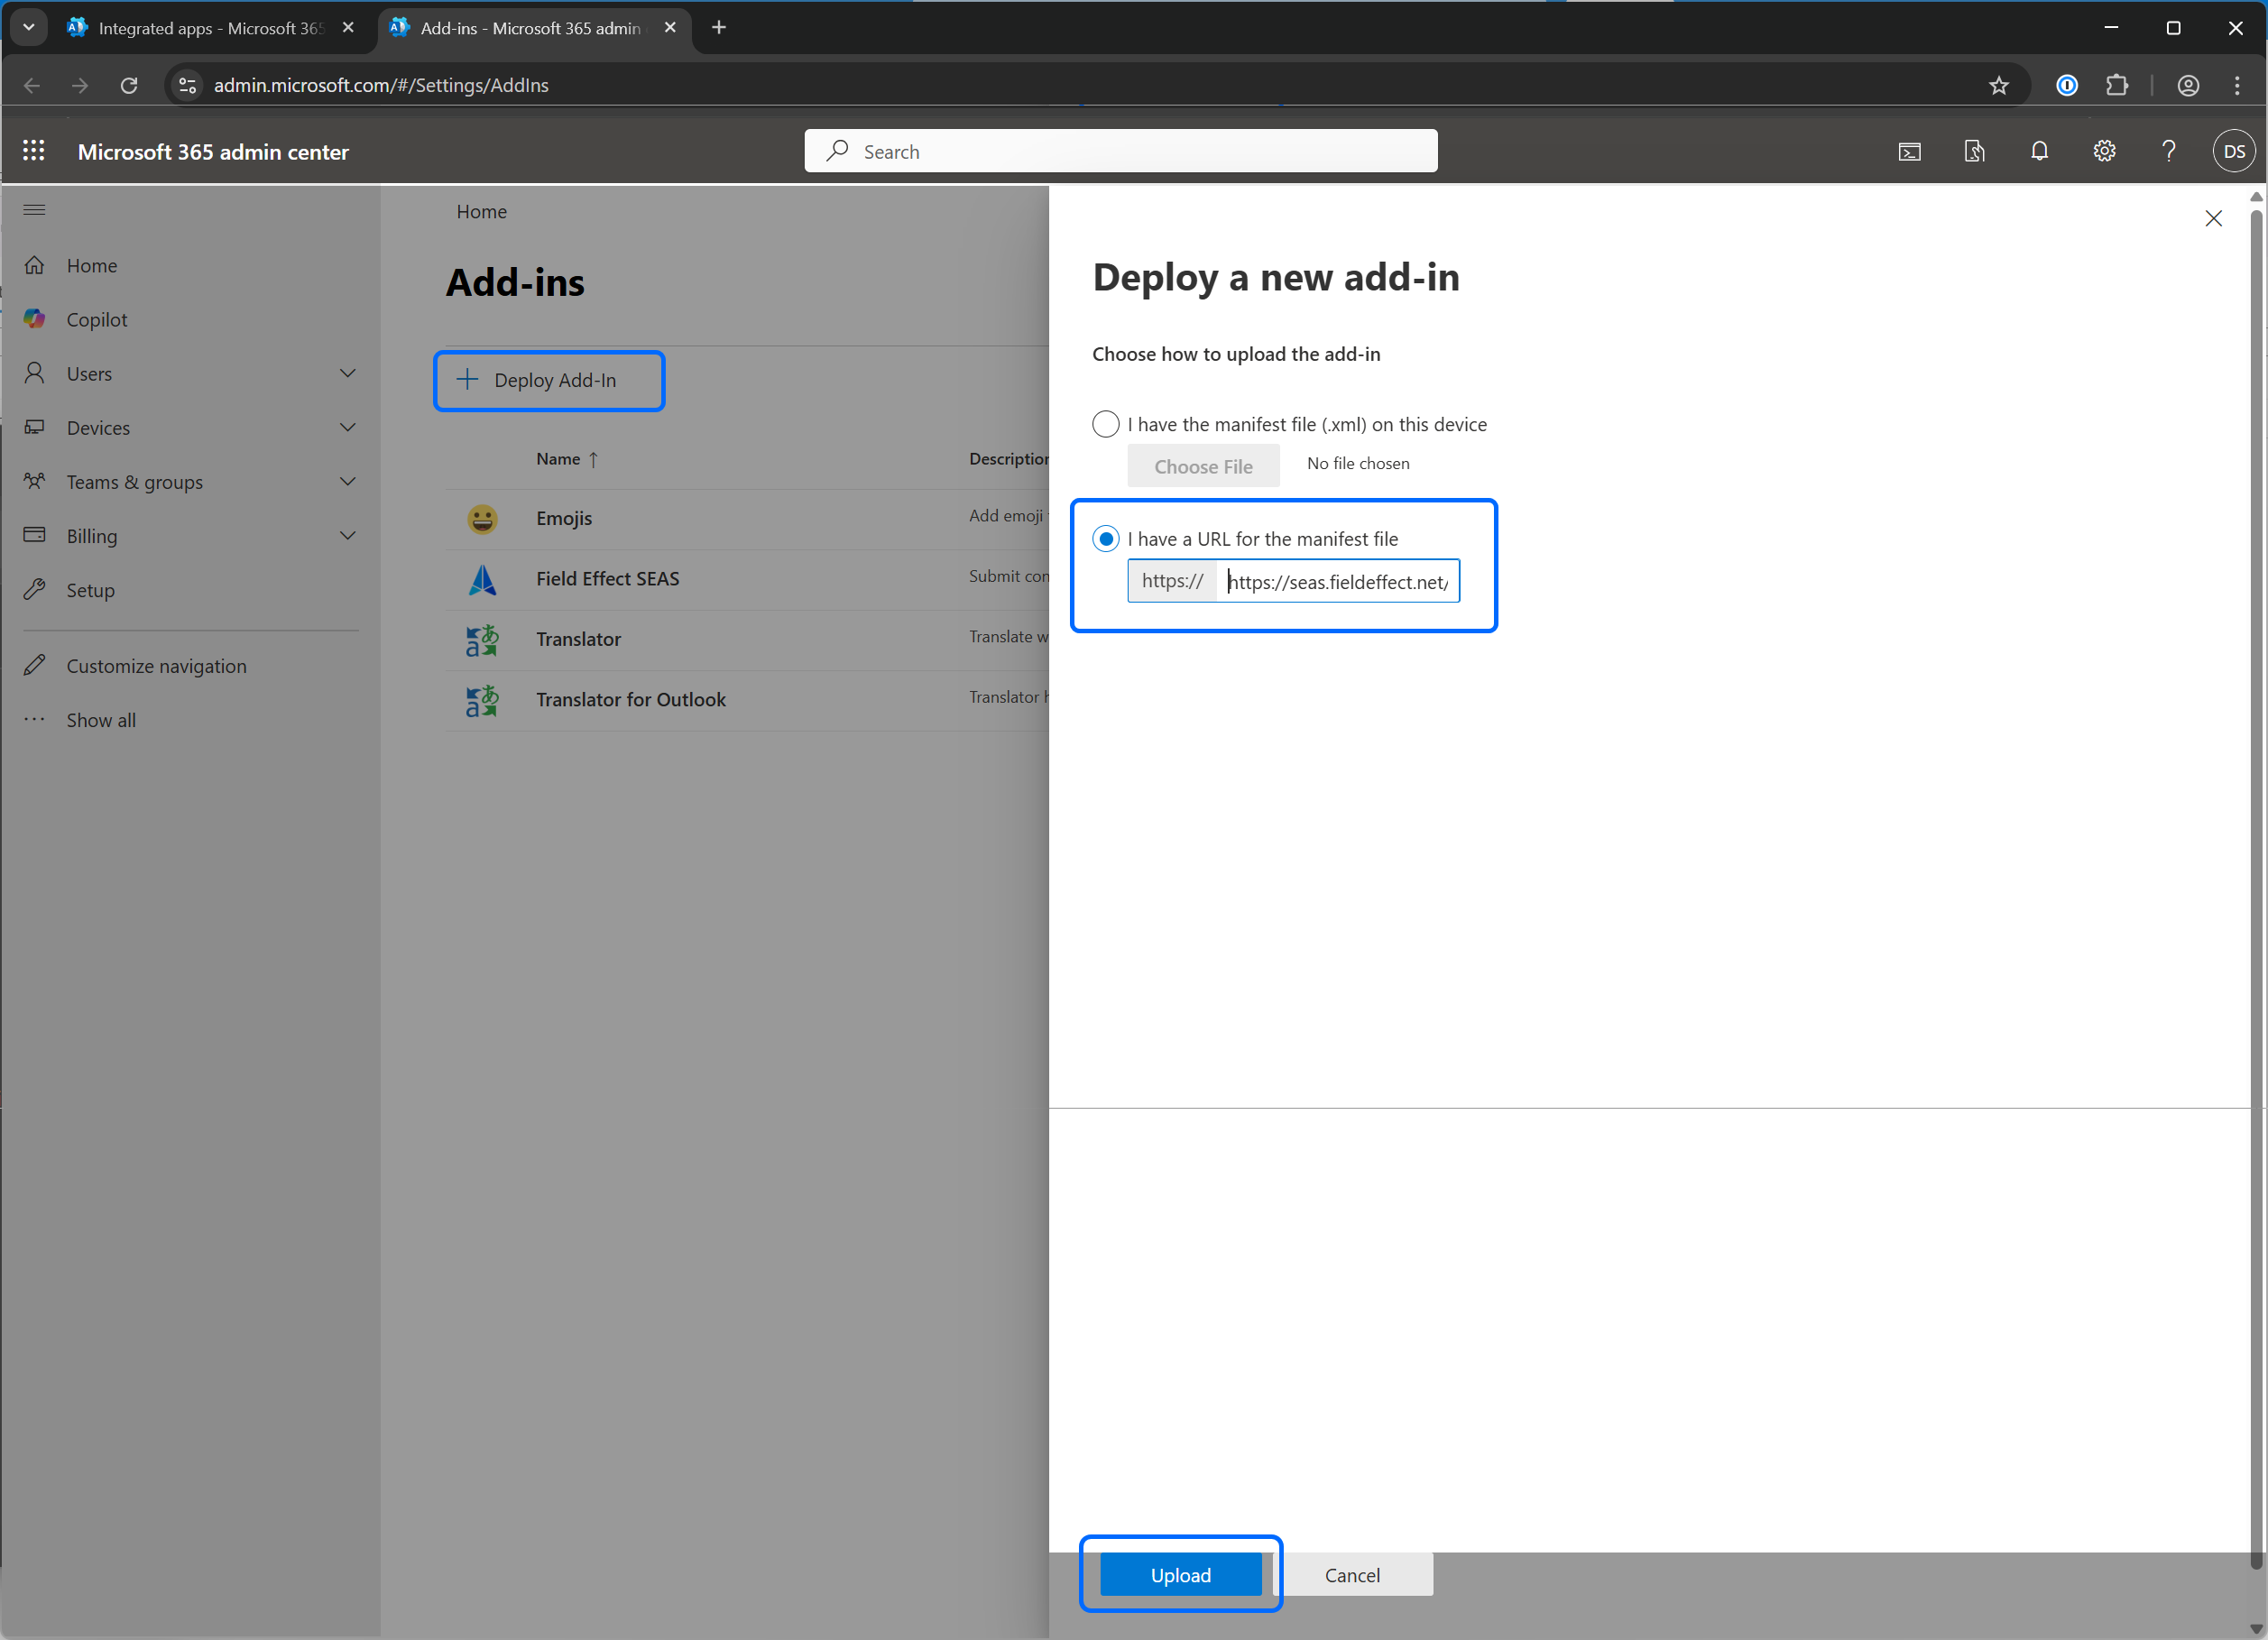
From the Add-ins page, click + Deploy Add-in. A fly-out pane will open on the right. Select I have a URL for the manifest file and paste in the manifest file URL (https://seas2.fieldeffect.net/plugin.xml). Once pasted, click Upload.
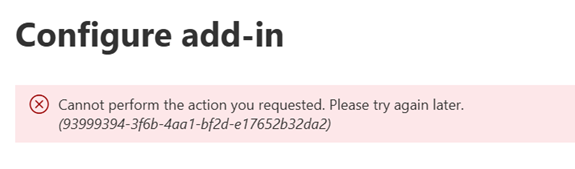
When providing the URL above, ensure to include "https://". Even though the text field includes it as a prefix, it is still required. Failing to include the "https://" will result in the following error:
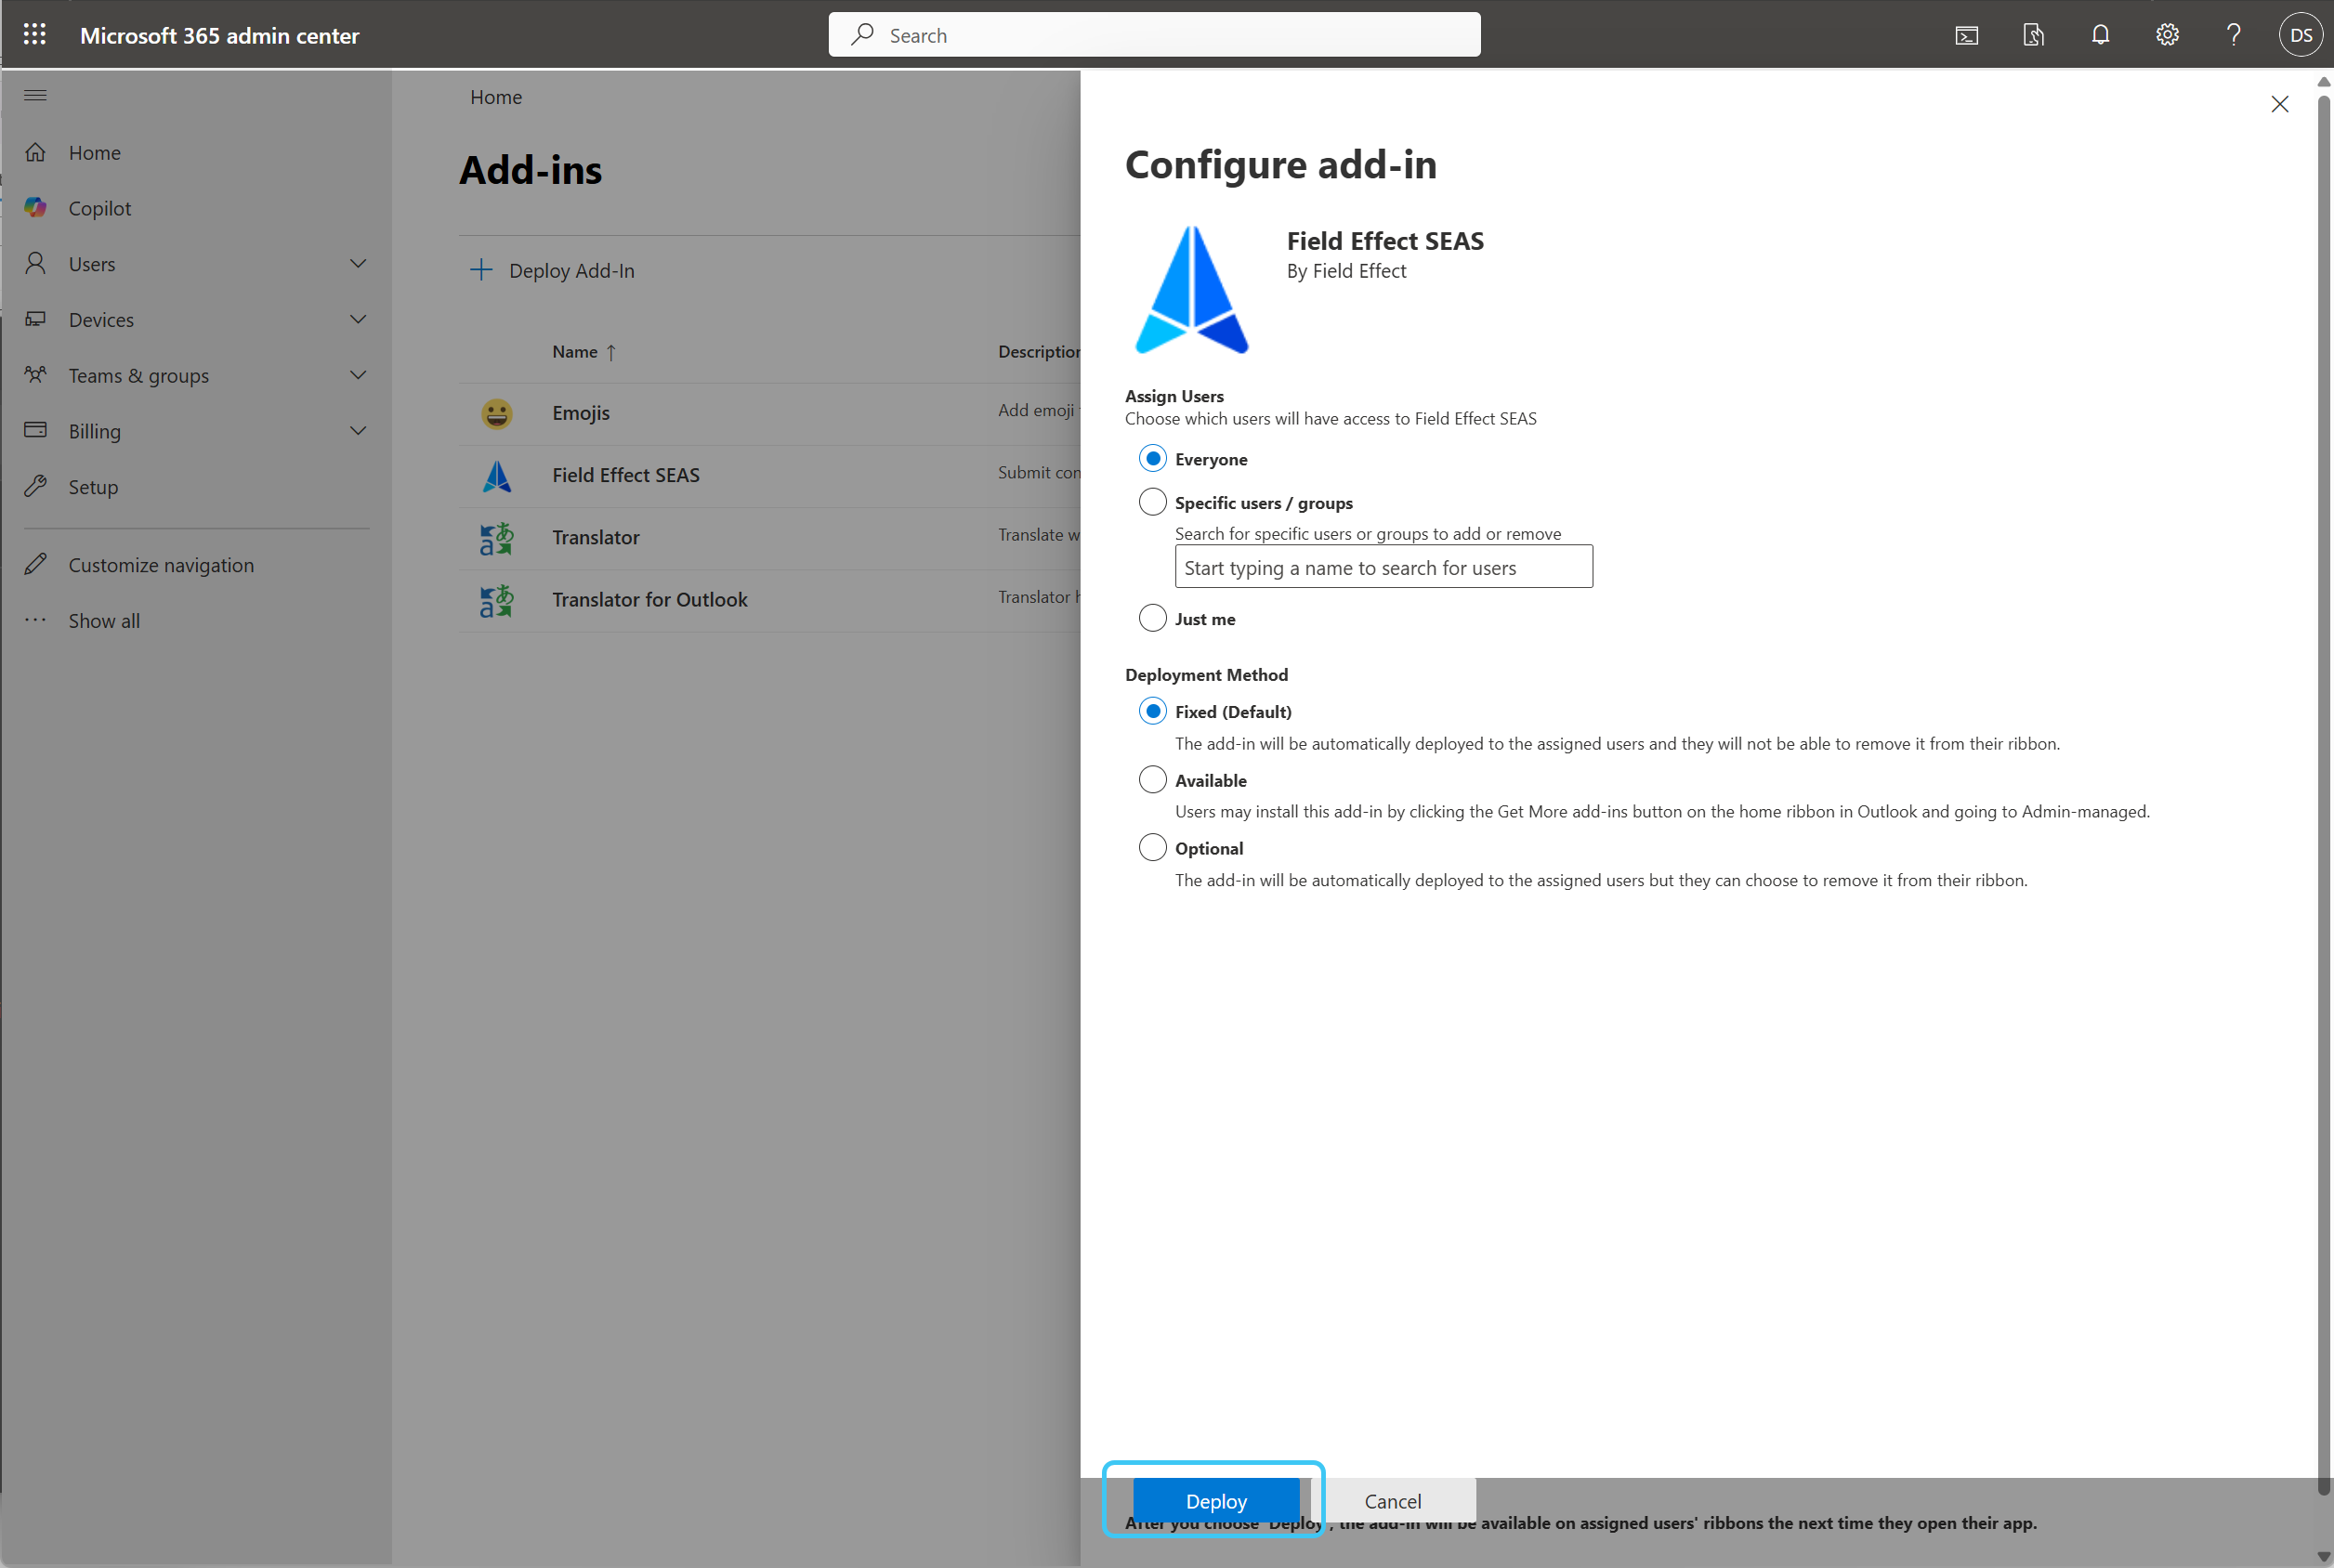
On the final step, assign the add-in to Everyone and set the deployment method to fixed. When ready, click Deploy.
You will be given a confirmation indicating that the plugin has been deployed and that it may take up to 12 hours for the SEAS add-in to propagate through your tenant. Click Next to finish.

End users will not be able to submit emails to SEAS until the app has been authorized in your tenant by an administrator. See Authorizing the add-in below.
Update the add-in
Please note that it may take up to 72 hours for new add-in deployment to show up for all users. See Microsoft's Centralized Deployment FAQs for more.
When updating the add-in, you do not need to reauthorize the add-in - that is only required when deploying the add-in for the first time.
We periodically release updates the add-in which may require you to update the manifest file you originally deployed. You will be notified of any updates through the Field Effect MDR Portal, which will instruct you on the requirements for that update, which usually entails uploading a new manifest file.
So, if you need to update your manifest file, Navigate to the Admin Center's Add-ins page (See Deploying the add-in above) and click on the Field Effect Add-in you previously deployed. Details about the SEAS add-in will appear on the right of your screen. Click Update add-in at the bottom of the fly-out pane.

You will then be asked to update the add-in by providing the most recent manifest file, which you can find at the following URL:
https://seas2.fieldeffect.net/plugin.xml
When providing the URL above, ensure to include "https://". Even though the text field includes it as a prefix, it is still required. Failing to include the "https://" will result in the following error:

Replace your older manifest file with the most recent manifest file URL, found on this article.
Checking your add-in version
If you open the manifest file, the version will be included. In the example below, the version is 2.0.0.0.

You can also see the add-in version number from the admin center.
Authorize the add-in
End users will not be able to submit emails to SEAS until the app has been authorized by an administrator for use within your tenant.
Once you have deployed the add in, it must then be authorized by an administrator of your organization's tenant.
Visit https://seas2.fieldeffect.net/authorize-add-in.html and follow the prompts.
Authorizing for your admin account
An account with sufficient Administrator privileges for the tenant will be required.
You will be taken to the account authorization page. Click the ACCOUNT AUTHORIZATION to get started.

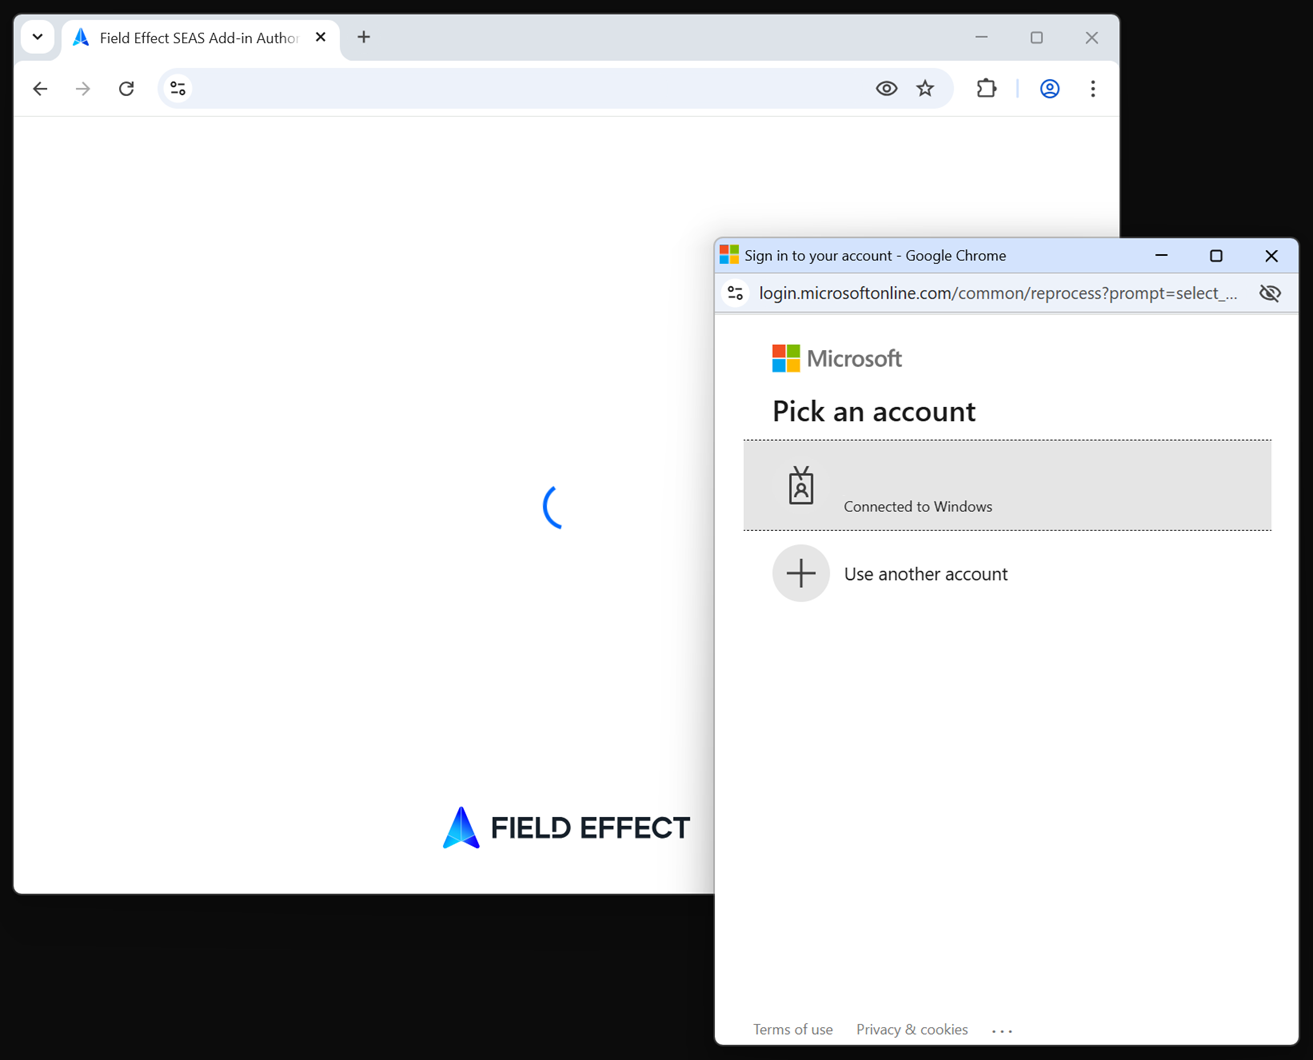
If this is the first time authorizing the app for your account a new window will open asking you to sign into your Microsoft account.
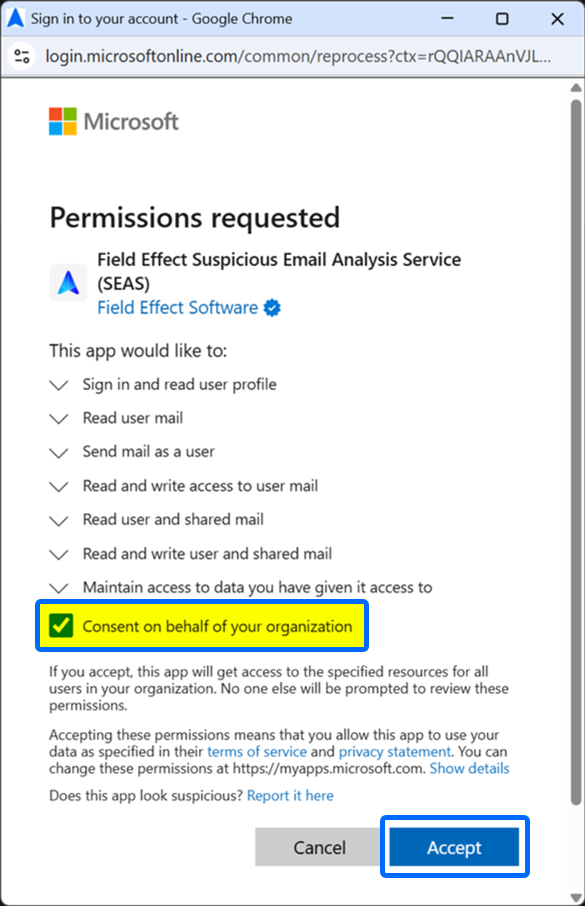
The same window will then ask you to authorize the app's use for your account. Ensure that the "Consent on behalf of your organization" check mark is checked is selected and click Accept.
Authorizing for your tenant
You will be taken to the Tenant Authorization page. If you did not check the consent box, already given the add-in account-level access, or you would like to verify the add-in is authorized for your tenant - click TENANT AUTHORIZATION to get started.

A final window will open asking you to authorize the app's use in your organization. Click Accept to authorize the app for your entire organization.

When complete, the SEAS plugin for Outlook will be available to users on their Outlook desktop apps, or Outlook on mobile (iOS and Android).
Was this article helpful?
That’s Great!
Thank you for your feedback
Sorry! We couldn't be helpful
Thank you for your feedback
Feedback sent
We appreciate your effort and will try to fix the article