Introduction
This article outlines the general installation process for deploying a physical sensor using the port mirrored configuration.
While the figures below do not specify the unique sensor form factors, this process applies to any Field Effect MDR physical sensor that supports this configuration. For more specific instructions, view the configuration guide for sensor.
For more high-level content about our physical network sensors, their specifications, and frequently asked questions, see Physical Network Sensor: Overview & Specs.
This article covers the following topics:
TOC
Notes for this Configuration
You may need to make firewall exceptions that allow outbound connections to Field Effect’s specific domains and ports. To learn more, visit Firewall Exceptions for Network Sensors and Endpoint Agents.
We also recommend establishing a DCHP reservation. This will allow you to assign a specific IP address to a device based on its MAC address, boosting reliability and connectivity. The process of reserving an IP will vary based your environment, but the benefits include:
- If the sensor reboots, it will quickly reestablish a connection with Field Effect.
- You can leverage firewall rules to maintain a more reliable connection.
- It helps ensure that syslogs are being sent correctly.
To find the MAC address for the green connection (aka interface) on your sensor, navigate to your Sensor Status Page and reserve the MAC address for the green interface.
Other Notes and Considerations
- If standard DHCPs are provided, you can connect the sensor directly to the internal network device via the management port (green).
- If you can’t provide a DHCP lease, a static IP can be assigned, and the steps are included in the appendix of this article.
- The sensor must be installed pre-NAT for full visibility into all network traffic.
- When installing an sensor within your physical IT environment, ensure to place it in the proper orientation as shown in this guide. If it's positioned in a way that restricts airflow, it may create performance and/or hardware issues.
Procedure: Port Mirrored Configuration
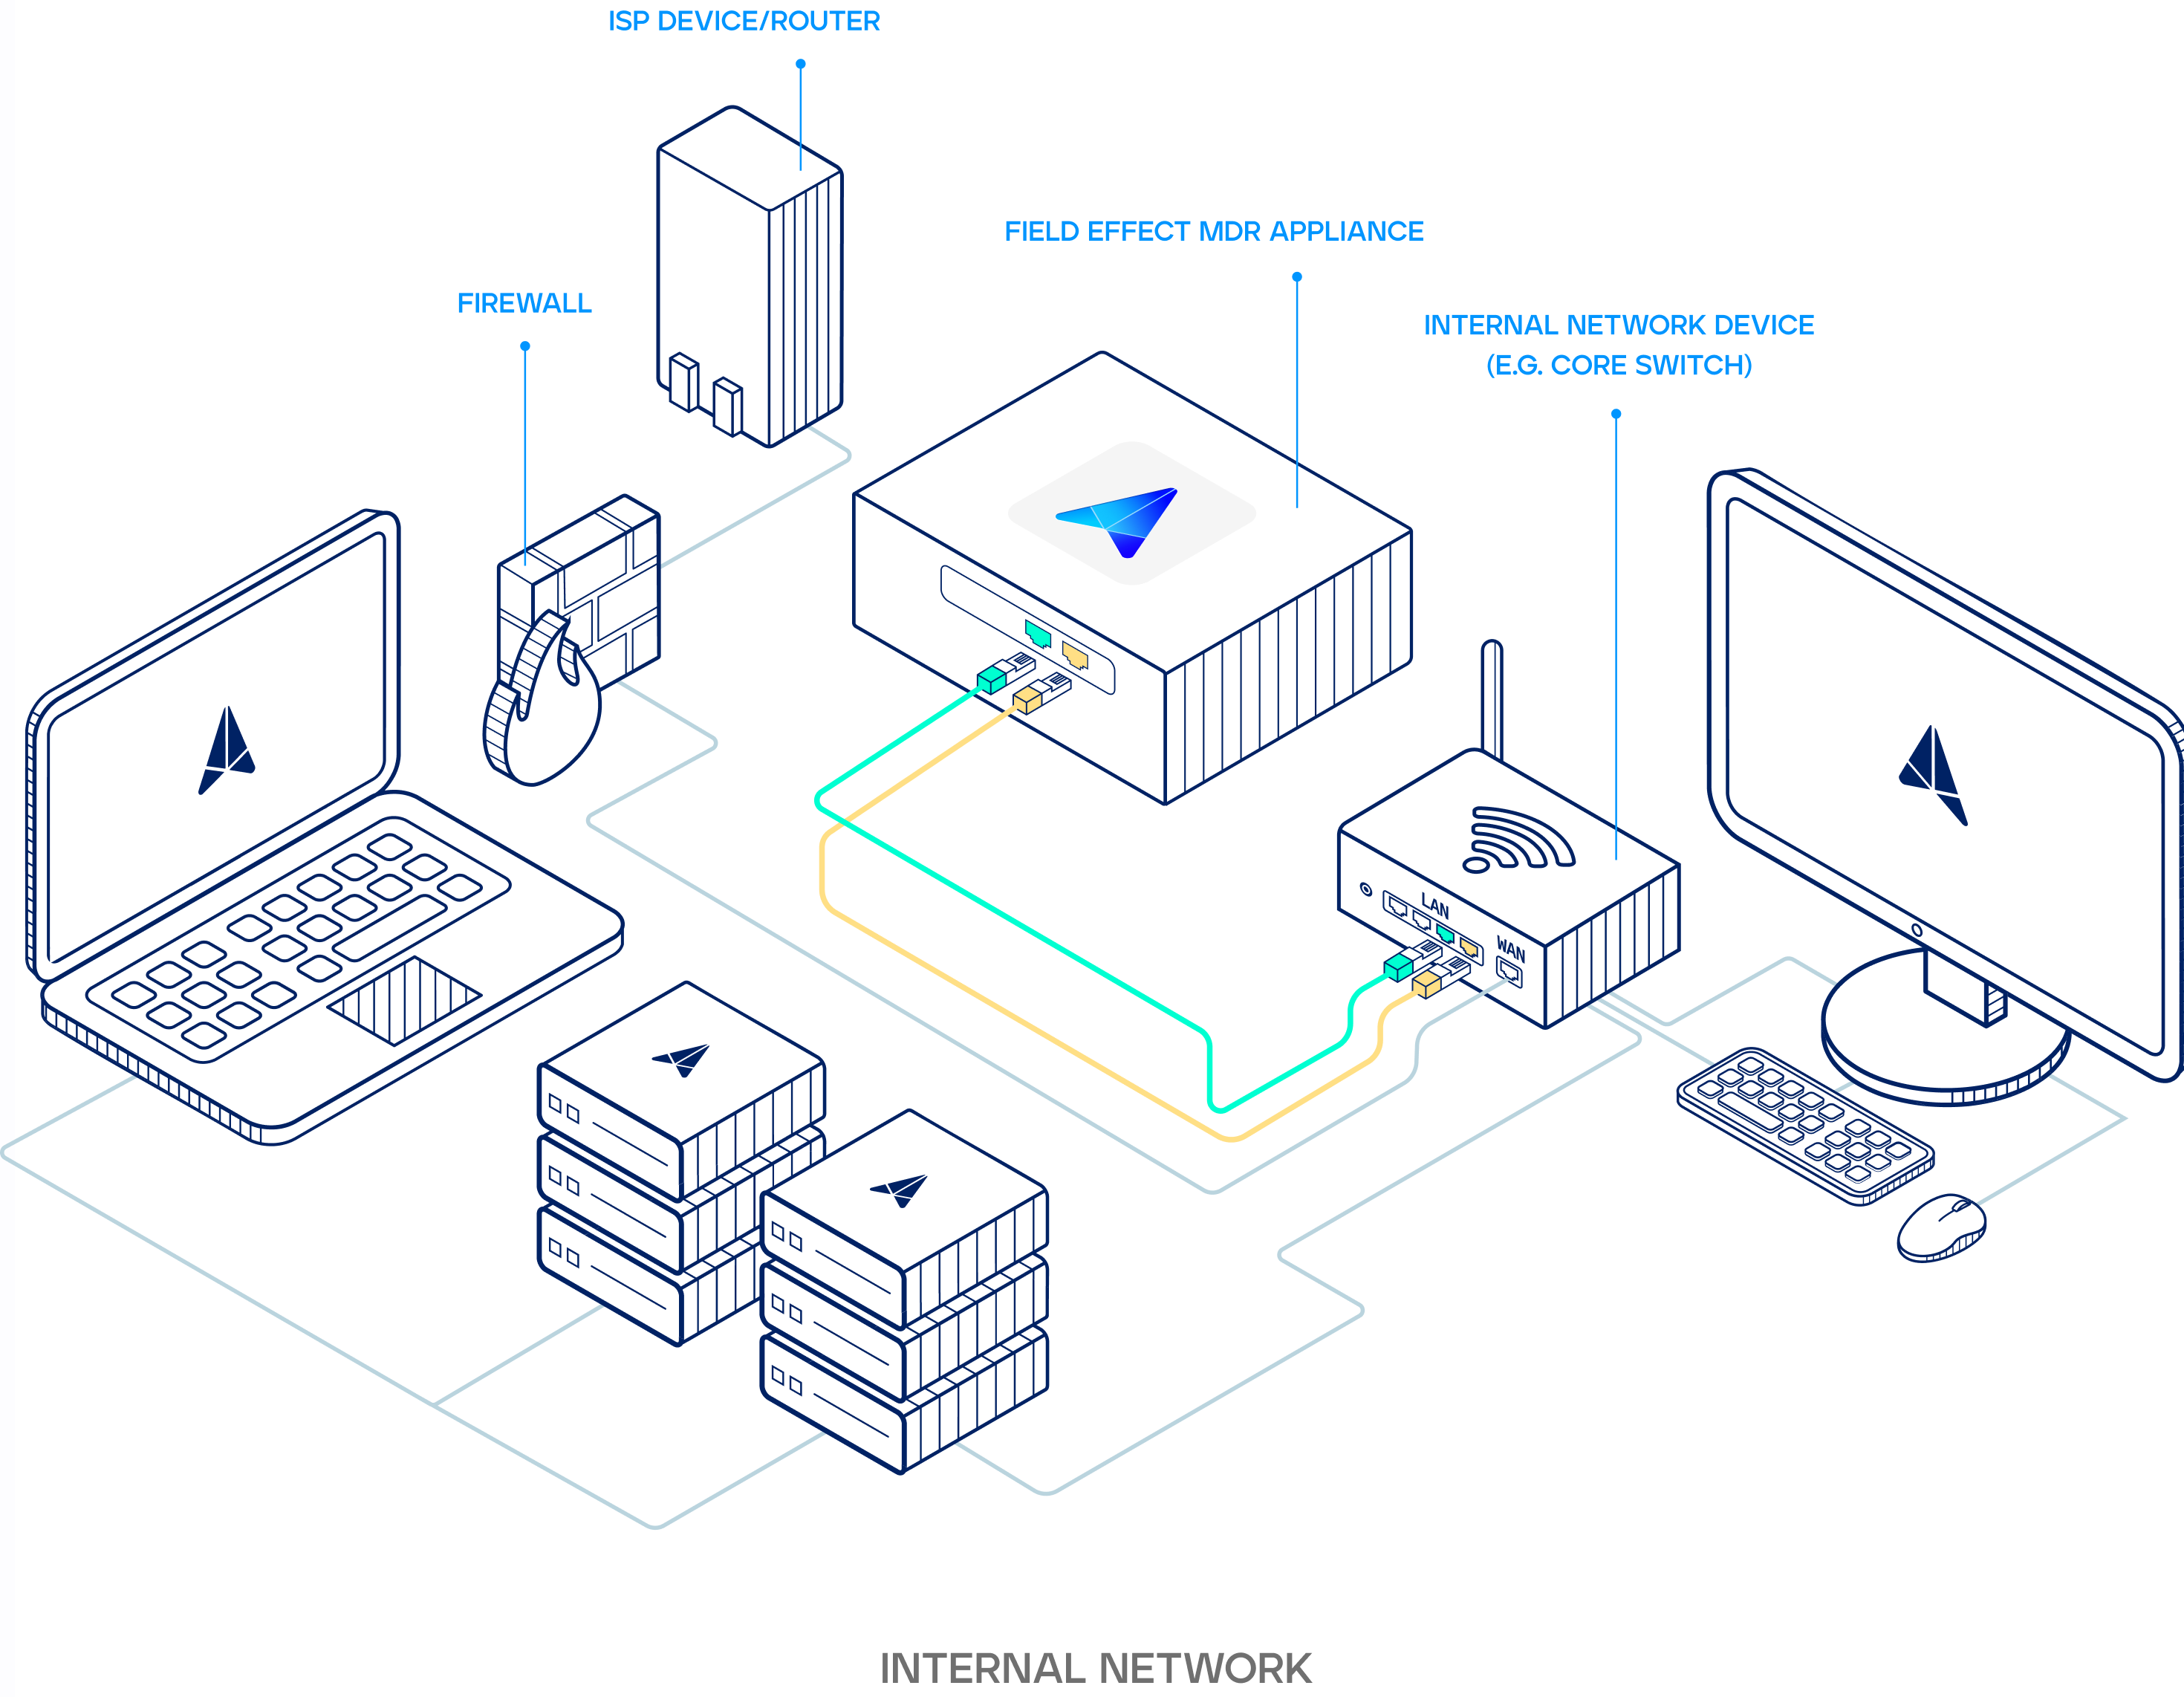
When using the port mirrored configuration, internet traffic from your network's primary switch is mirrored to a SPAN port and sent to the physical sensor for analysis. The illustration below shows the connections required for a port mirrored configuration, which are as follows:
- Yellow: Inbound connection from the mirrored SPAN port to the sensor.
- This is a 1Gbps bridge port meant to capture mirrored traffic.
- Green: Outbound VPN connection.
- This is used to connect to Field Effect’s datacenter(s).
Making the Yellow Connection
Begin by configuring a SPAN port on your network device (firewall or switch) that mirrors all traffic. Plug the provided yellow cable into this newly configured SPAN port. Plug the other end of the yellow cable into the yellow port on your sensor.
If applicable: repeat steps 1-3 as many times as necessary by configuring SPAN ports on the remaining switches/firewalls and connecting them to the remaining yellow ports.
Making the Green Connection with a DHCP lease (preferred)
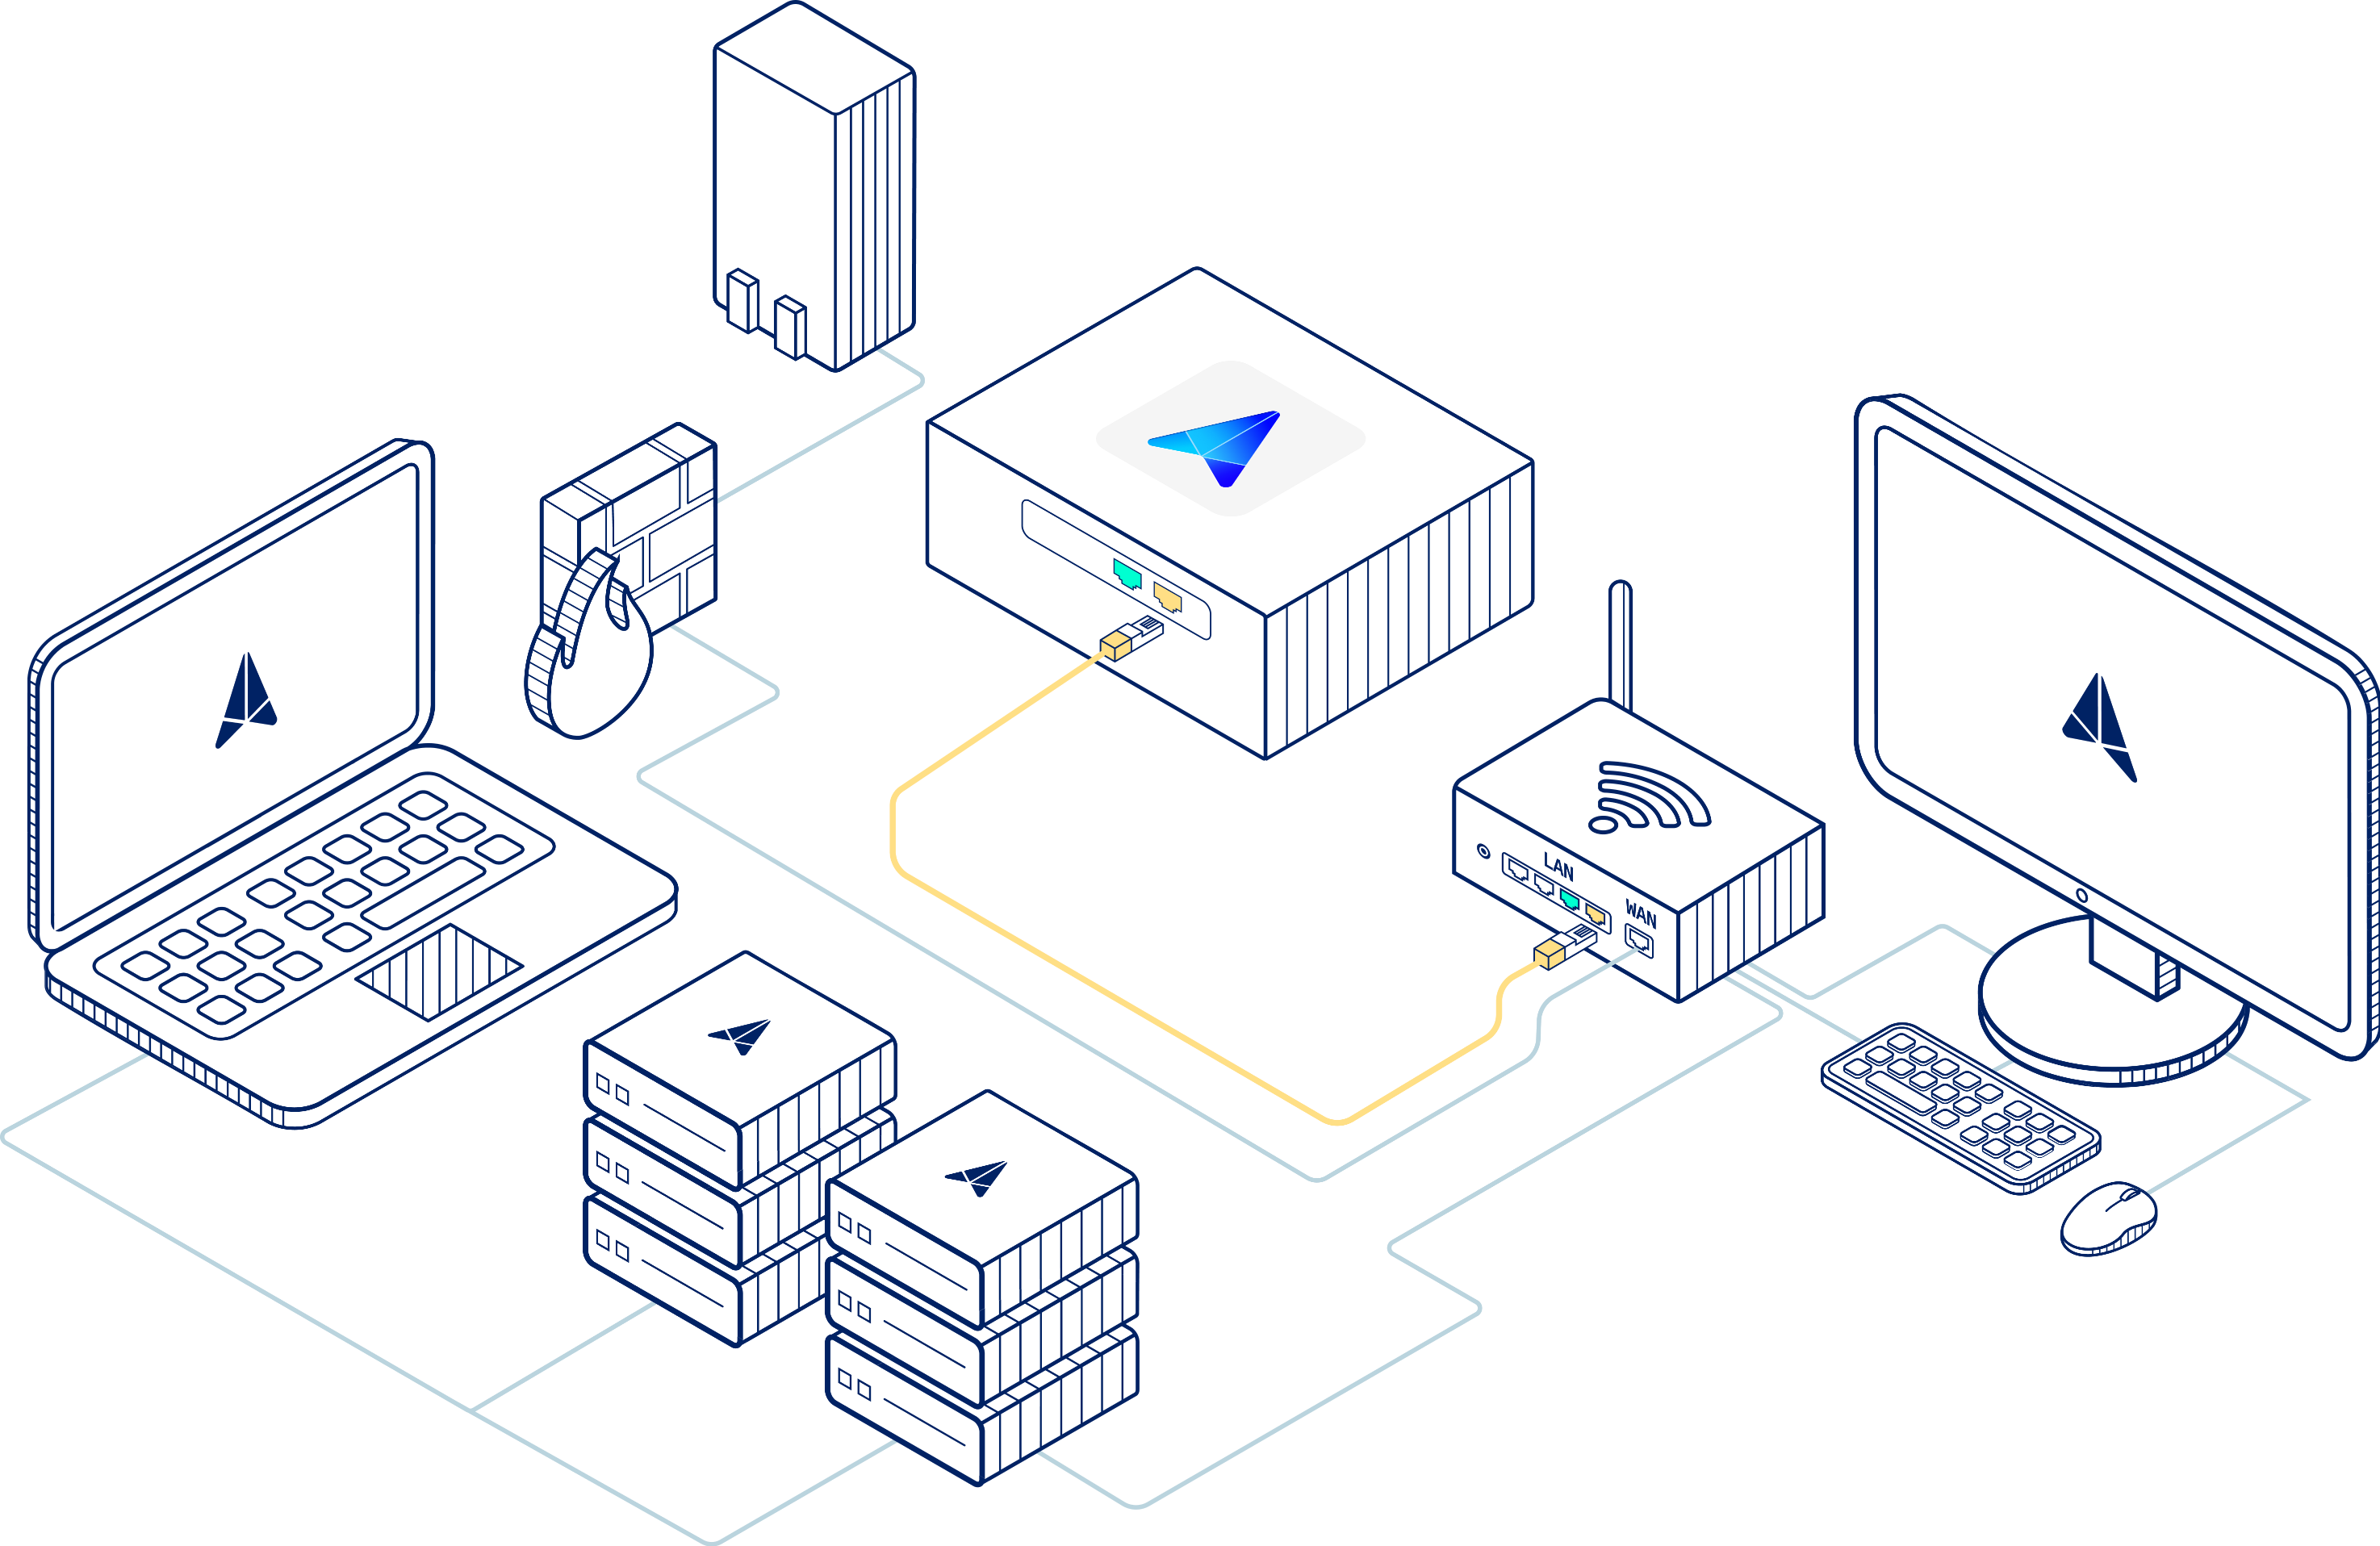
If you can provide a DHCP lease (preferred): Plug one end of the green cable into any network port on any switch with internet access. Then connect the other end of the green cable into the green port on your sensor.
If you can’t provide a DHCP lease, see the appendix at the end of this article.
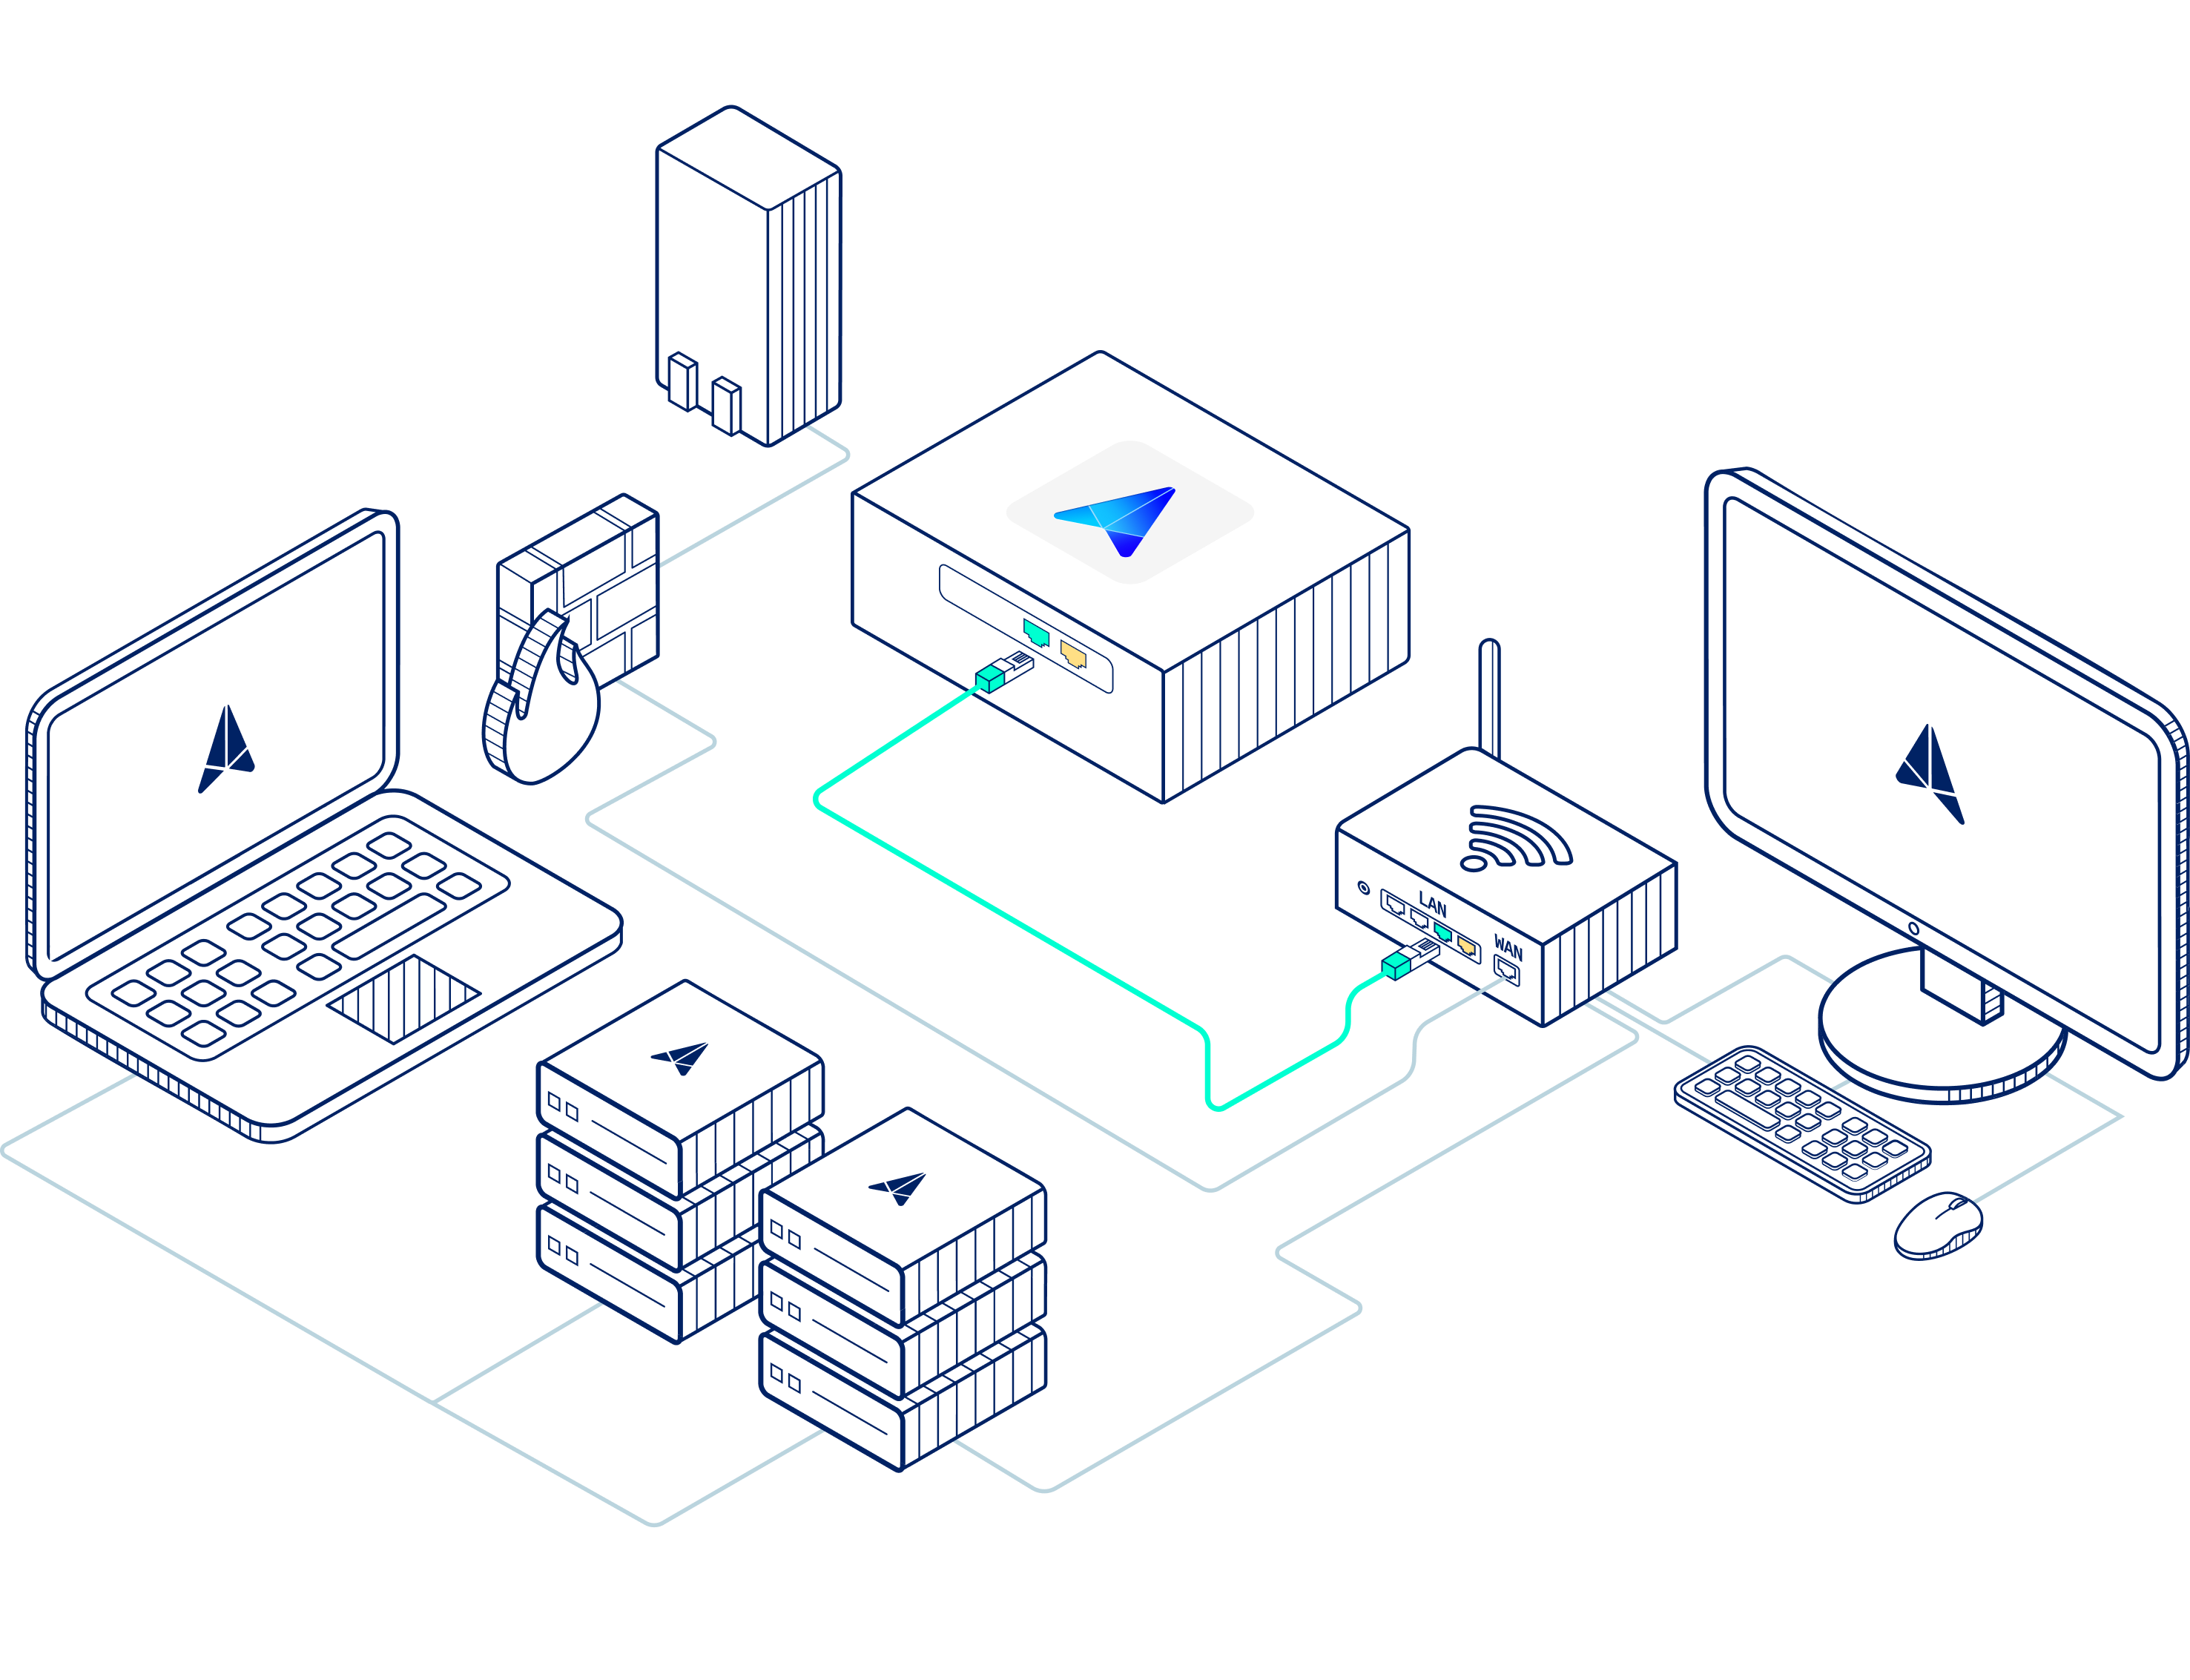
From your router's management interface, create a DHCP Reservation. This allows you to assign a specific IP address to a device - based on its MAC address. Reserving an IP for the sensor will boost reliability and connectivity.
To find the MAC address for the green connection (aka interface) on your sensor, navigate to your Sensor Status Page and reserve the MAC address for the green interface.
Powering the Sensor
Now that the sensor is properly connected, you can power it on. Ensure the power cable is plugged in, and power it on.
Once powered on, it will receive an IP address and connect to our data center. The IP address should be reserved on your DHCP server.
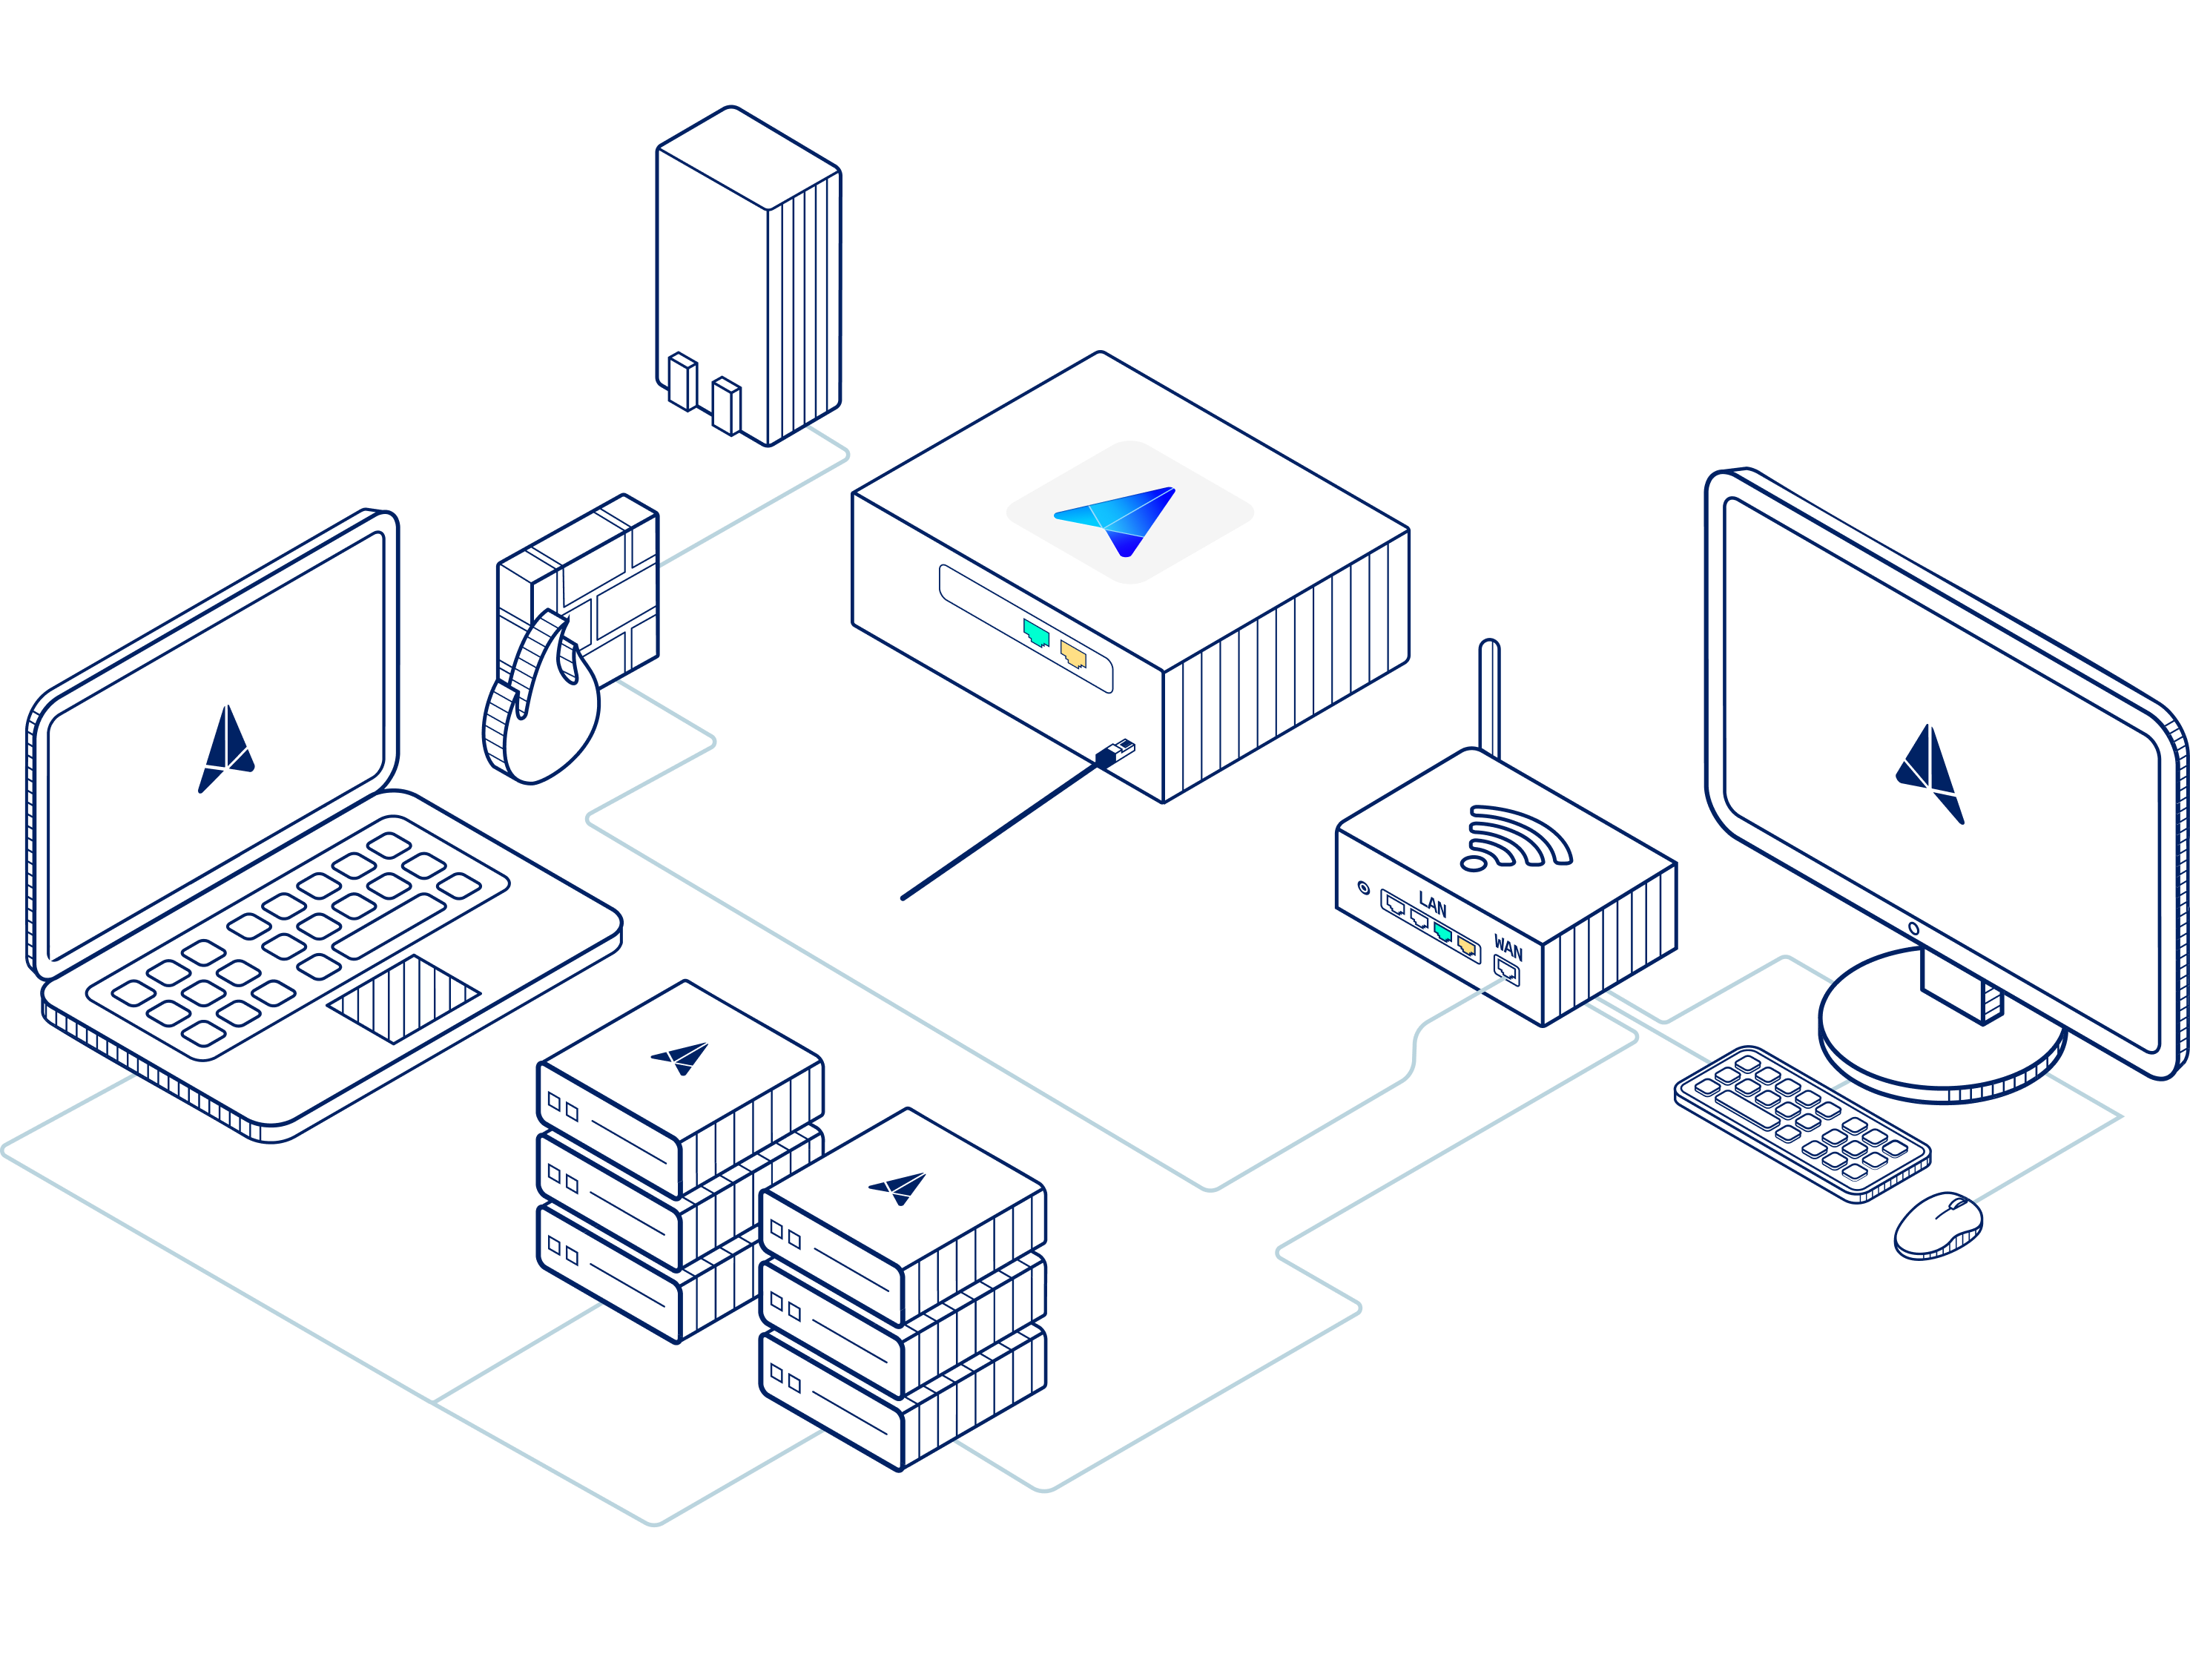
If you have been with Field Effect prior to 2026, your physical sensor shipped with a unique YubiKey, which is a security feature that works as a physical form of multi-factor authentication. Your device will not power on unless the YubiKey is plugged into a USB port.

If your network sensor was shipped after June 2026, it does not require a Yubikey.
To confirm connectivity, browse to the sensor status page or connect to the sensor console.
Appendix: Static IP Addresses
If you can’t provide a DHCP lease, plug one end of the green cable into any network port on any switch with internet access.
Then plug the other end of the green cable into the red port on your sensor.
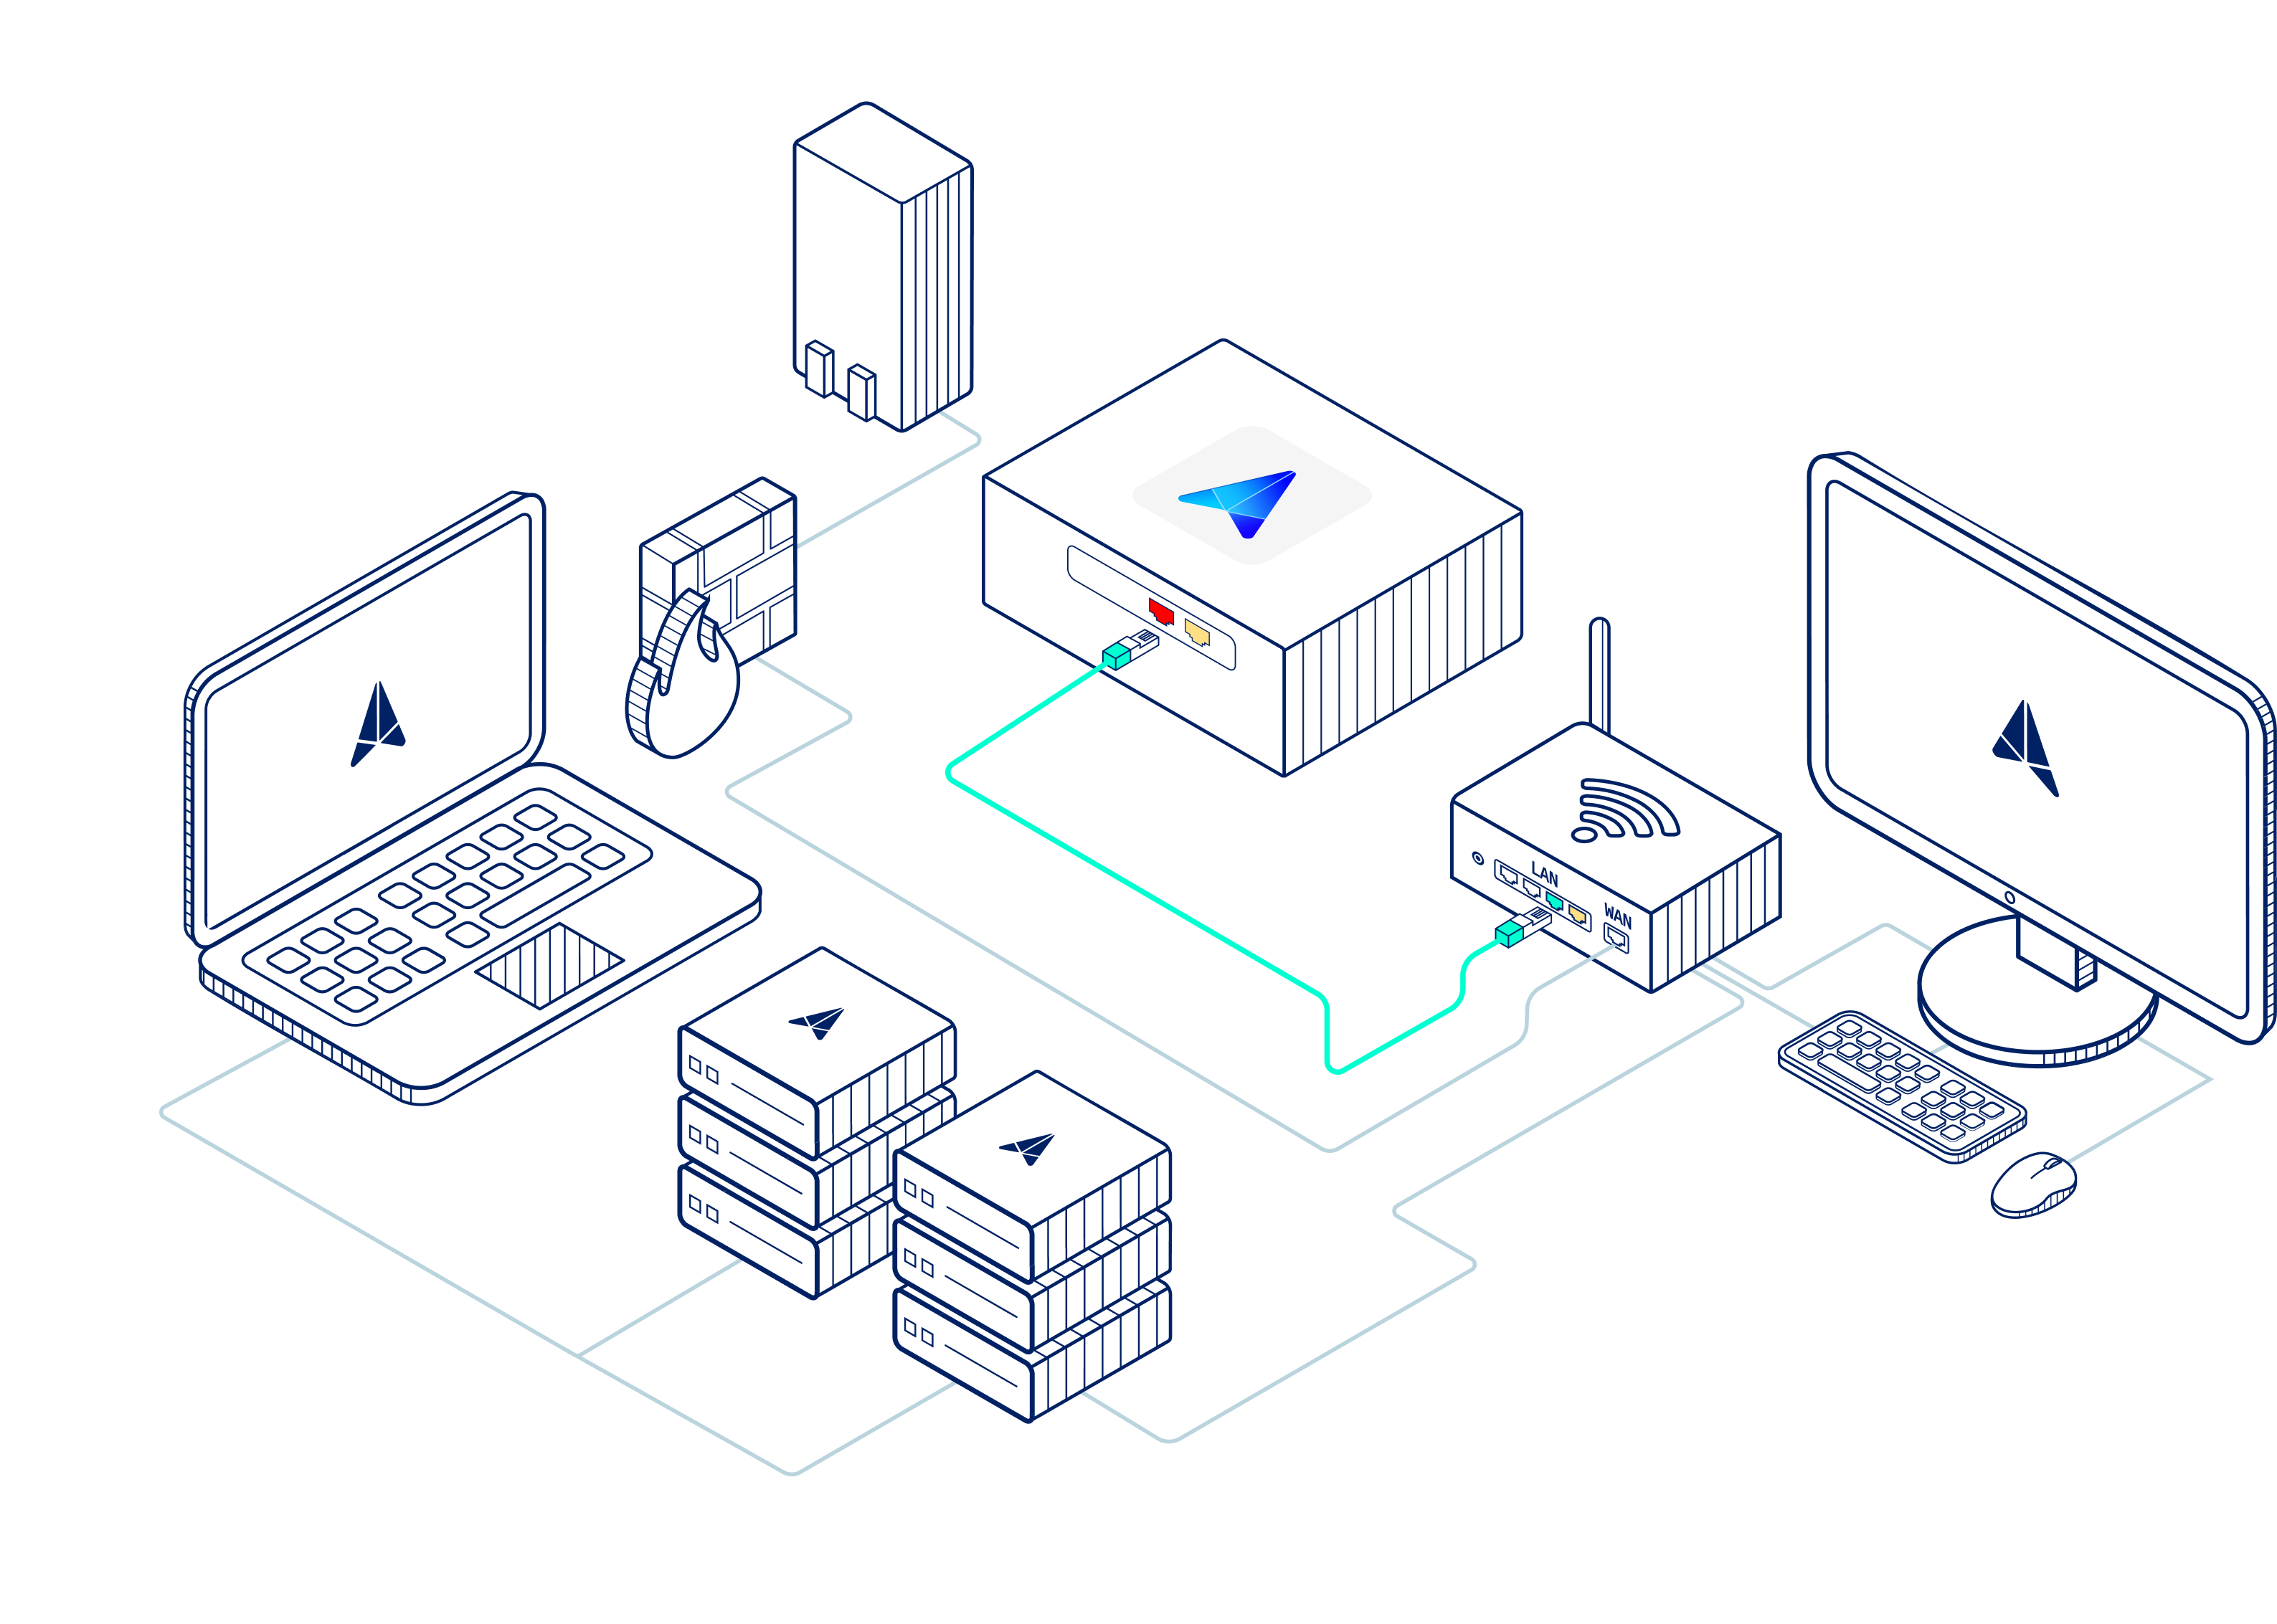
After making the connection above (green cable into red port), connect a monitor and keyboard to the sensor and contact support@fieldeffect.com for your login credentials. After logging in to the sensor, you’ll be presented with a console where you can configure a static IP.
Was this article helpful?
That’s Great!
Thank you for your feedback
Sorry! We couldn't be helpful
Thank you for your feedback
Feedback sent
We appreciate your effort and will try to fix the article