Introduction
This article will walk you through installing the endpoint agent via Microsoft Intune and has multiple steps.
Table of contents
- Steps
- Step 1 - Download the Endpoint Agent
- Step 2 - Create the Installation Folder Structure
- Step 3 - Move the Agent Install and License file into the Folder Structure
- Step 4 - Download the Microsoft Content Prep Tool
- Step 5 - Move the Microsoft Content Prep Tool into the Folder Structure
- Step 6 - Create the .IntuneWin file
- Step 7 - Creating the Intune Application
- Step 8 - Monitoring Installations
Step 1 - Download the Endpoint Agent
If you are a partner, the Downloads page, and the files on it, are at the per-client level. Ensure that the organization selector is set to the correct client view when downloading installers.
Log into the Field Effect MDR Portal and navigate to the sidebar's Downloads page. Download the version(s) of Windows you would like to deploy the endpoint to.

A .zip folder will be downloaded to your default download location containing the installer and license file. These files will need to be placed into a specific folder later on in the procedure.

Step 2 - Create the Installation Folder Structure
Using file explorer, navigate to “C:\” and create a new folder called “Field Effect”.

Inside the newly created “Field Effect” folder, create a new folder called “Packages”.

In the newly created “Packages” folder, create a new folder called “FieldEffectEndpointAgent.”

In the newly created “FieldEffectEndpointAgent” folder, create a sub-folder that is named after the version number of the endpoint agent downloaded in Step 1.
To find the version number, refer to the installer file found within the .zip file you downloaded in step 1. The version number is added to the file name as a suffix, highlighted in the following image:


Step 3 - Move the Agent Installer and License file into the Folder Structure
Now that the folder structure has been created, the endpoint agent MSI installer file and license.txt file must be moved to the proper location in the folder structure.
Move MSI agent installer file and the license.txt file from the zip file that was your download location to the "<Version>" sub-folder you just created.

Step 4 - Download the Microsoft Content Prep Tool
To begin, go to the Microsoft Win32 Content Prep Tool GitHub page and download the latest version.

A .zip file containing the tool will be downloaded to your default downloads folder.

Step 5 - Move the Microsoft Content Prep Tool into the Folder Structure
Move the Microsoft Content Prep Tool itself from the .zip file you downloaded to the “Field Effect” folder.

Step 6 - Create the .IntuneWin file
Open the command prompt on your computer and type “cd C:\Field Effect” and press enter. A new line, "C:\ Field Effect", will appear.

Paste the following command into your command prompt:
IntuneWinAppUtil.exe -c Packages\FieldEffectEndpointAgent\VERSION -s Packages\FieldEffectEndpointAgent\VERSION\covalence-endpoint-x64-VERSION.msi -o Packages\FieldEffectEndpointAgent
Using the command above, update all instances of VERSION to the version number corresponding with the installer you are using.
In the example below, the user is installing endpoint agent VERSION "3.04.19", so the command had been updated to use "3.04.19 ".
This command will create the .IntuneWin file, and when finished, you will receive the following:

This will create an Intune package file in the FieldEffectEndpointAgent folder.

Step 7 - Creating the Intune Application
Admin access is required for this procedure
Navigate to the Intune Online Dashboard (https://endpoint.microsoft.com) and from the Home Tab’s Apps section, click Add.

The Select app type fly-out menu will appear on your screen.
Select Windows app (Win32) and click Select.

Click Select app package file.
The App package fly-out menu will appear on your screen. Upload the previously created IntuneWin file.
Once uploaded, click OK.

Most of the contents should be filled out but add the Publisher name "Field Effect" and click Next.

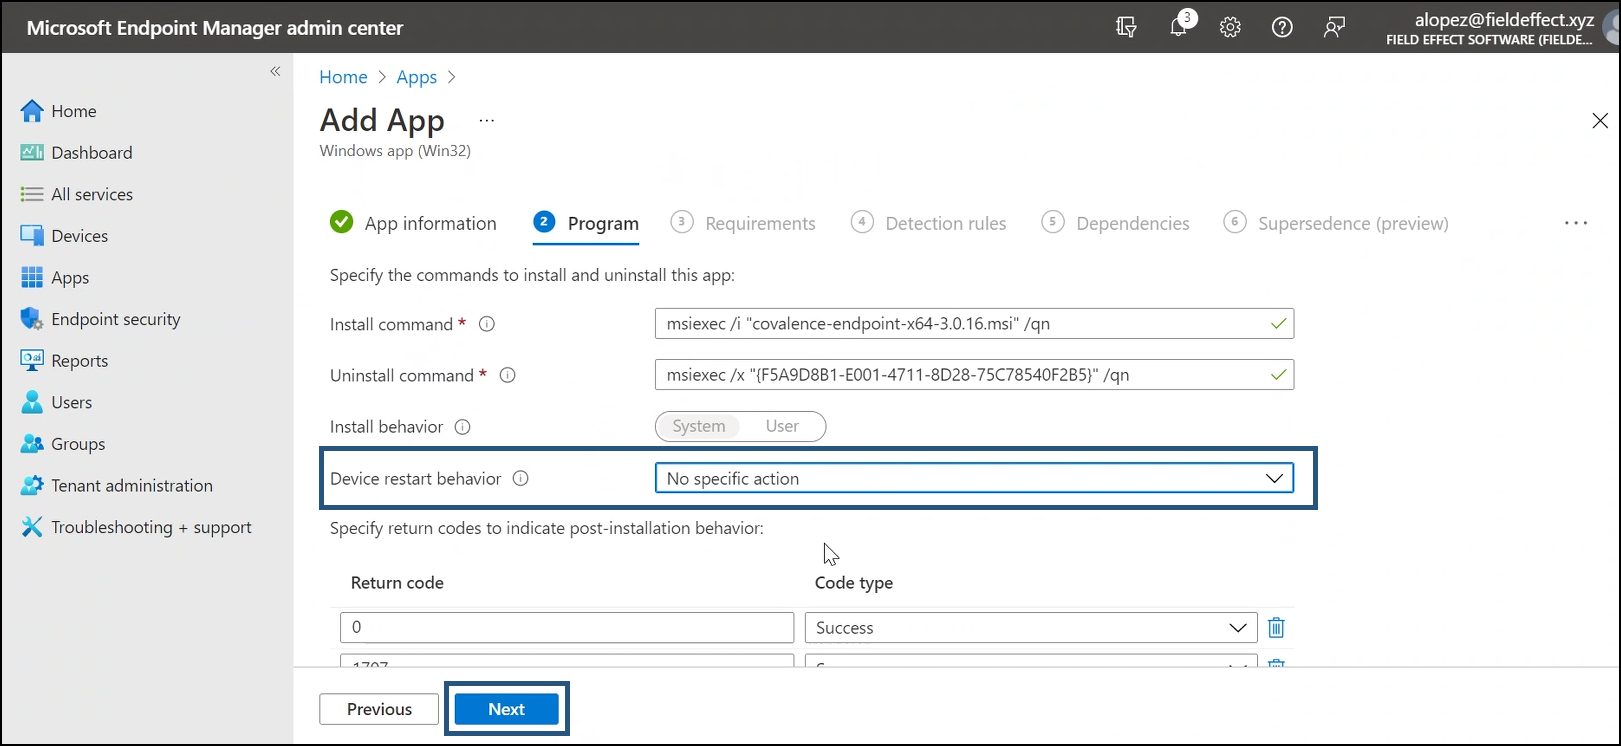
You’ll be taken to the Program step. Change restart behavior to No specific Action. Click Next.
You’ll be taken to the Requirements Step.
On this page, check 64-bit and in the OS field. In the Min OS field, select Windows 10 1607.
Click Next.

On your desktop, use your preferred text editor to create a new PowerShell script using the script provided below.
Once completed, save the PowerShell script (use the file extension “.ps1” to save the file as a PowerShell script).
[CmdletBinding()]
param (
    [Parameter(Mandatory = $false)]
    [String]$ServiceName = 'Covalence Endpoint Service'
)

$ErrorActionPreference = "Stop"
Set-StrictMode -Version Latest

try {
    $service = Get-Service -Name $ServiceName
} catch {
    exit -1
}

if($service.Status -eq 'Running'){
    Write-Host 'Success'
    exit 0
} else {
    exit -1
}

Navigate back to Intune’s Detection Rules step.
For the Rules format field, select Use a custom detection script. In the Script file field, upload the PowerShell script you made in the previous step.
When complete, click Next.

You’ll be taken to the Dependencies step. No action is required here, click Next to continue.

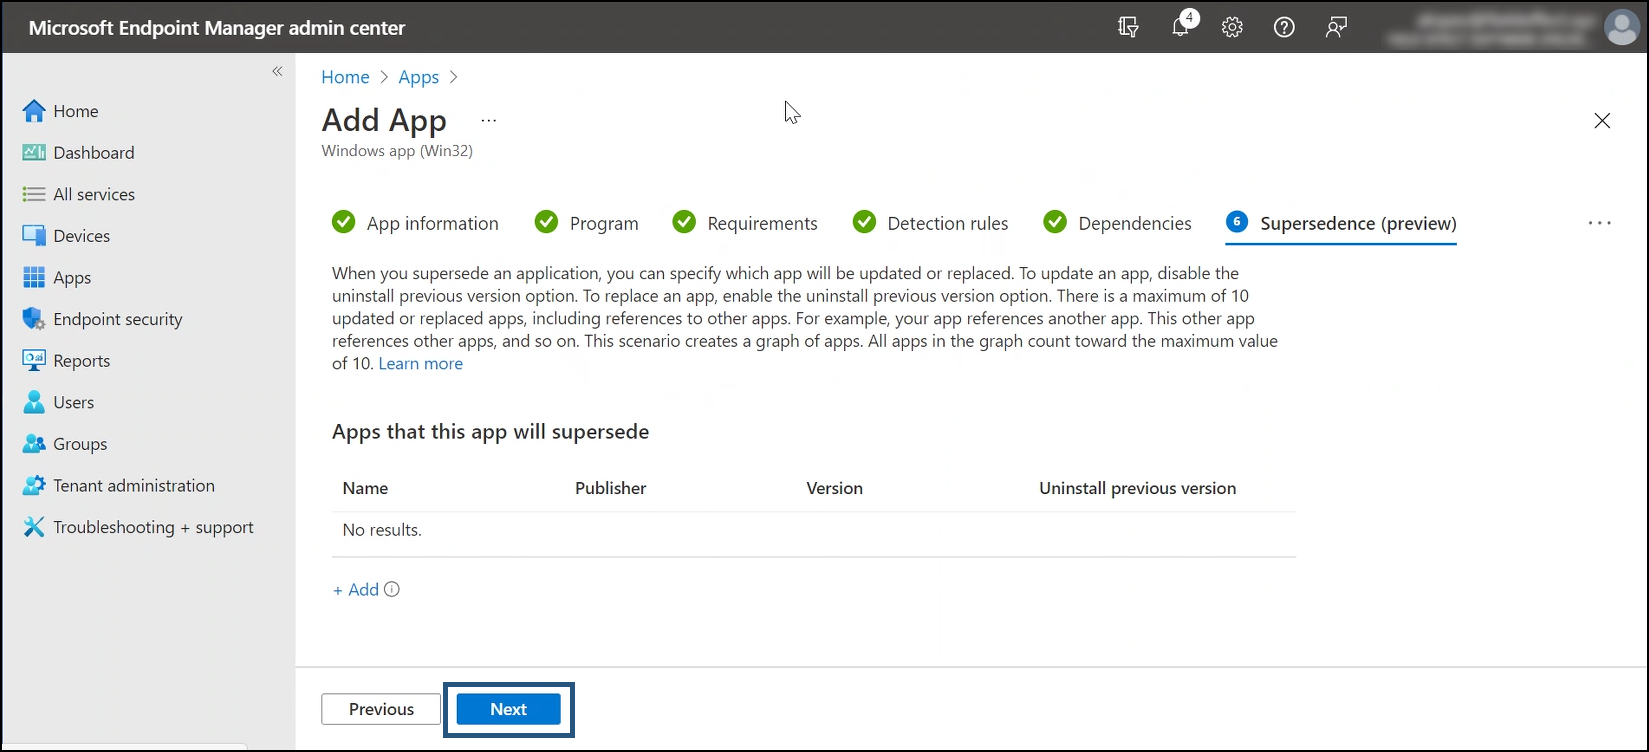
You’ll be taken to the Supersedence step. No action is required here, click Next to continue.
You’ll be taken to the Assignments step.
This step is unique to every organization, but you need to add the proper groups to the proper levels for this app.
Once added, click Next.

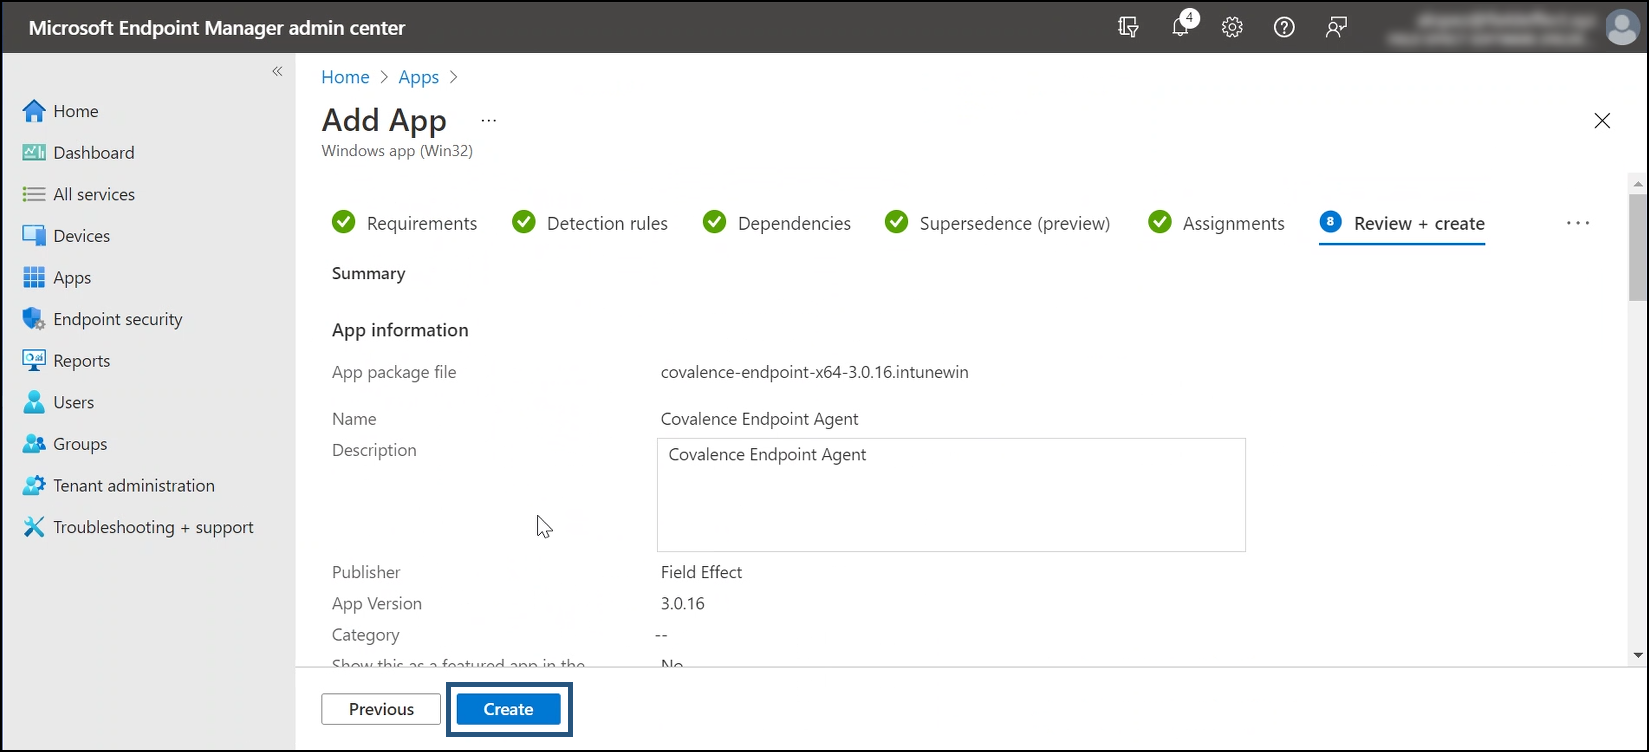
You’ll be taken to the Review step.
Review the app you are about to create and click Create when ready.
Step 8 - Monitoring Installations
While performing an installation, or update, progress can be tracked from the Device Install Status page.

Was this article helpful?
That’s Great!
Thank you for your feedback
Sorry! We couldn't be helpful
Thank you for your feedback
Feedback sent
We appreciate your effort and will try to fix the article