Introduction
This article walks through the steps of setting up active response. To learn more about what Active Response is, how response policies and actions work, and more, visit our Help Center chapter.
This article covers the following topics:
- What you'll do
- Before you Begin
- Video - Active Response: Setting a Response Policy
- Enable Active Response
- Disable Active Response
What you'll do
Learn how to configure Active Response so your environment can automatically take action when specific threats are detected.
By the end of this guide, you will:
- Create or modify an Active Response rule
- Assign the correct actions
- Apply it to the appropriate scope
- Verify that it is working correctly
Before you Begin
Ensure you have:
- Access to the Vision UI with appropriate permissions
- Active Response enabled for your environment
- Endpoints or systems properly onboarded
- (For Partners) Confirm whether you are configuring the feature for your internal deployment, or for an end client.
Video - Active Response: Setting a Response Policy
Enable Active Response
Navigate to the feature
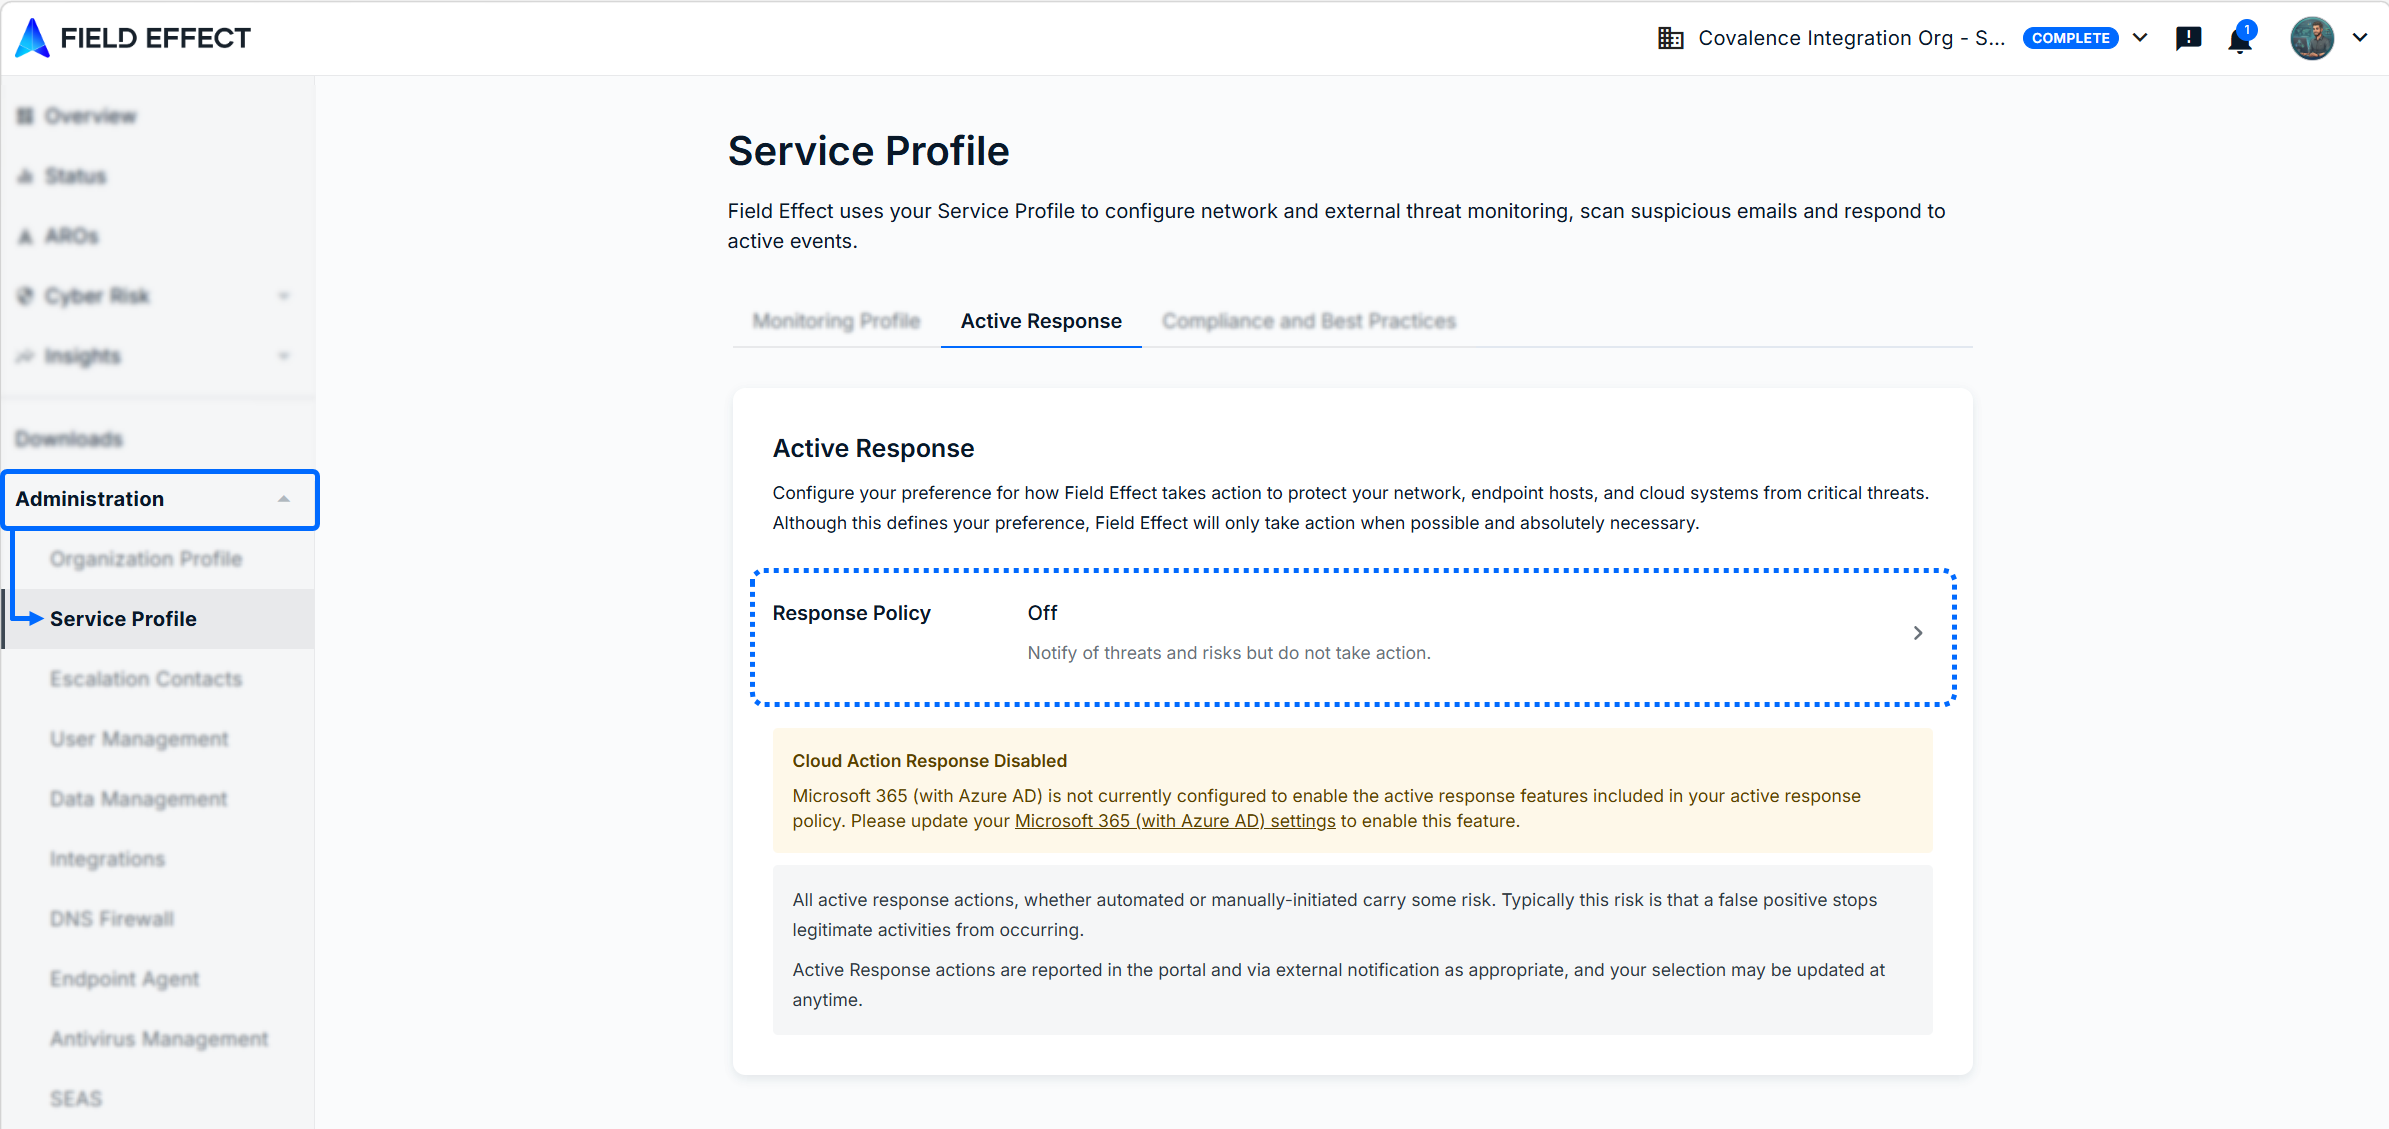
- Log into the MDR Portal and navigate to Administration> Service Profile.
- On the Service Profile's Active Response tab, click the Response Policy section to get started.
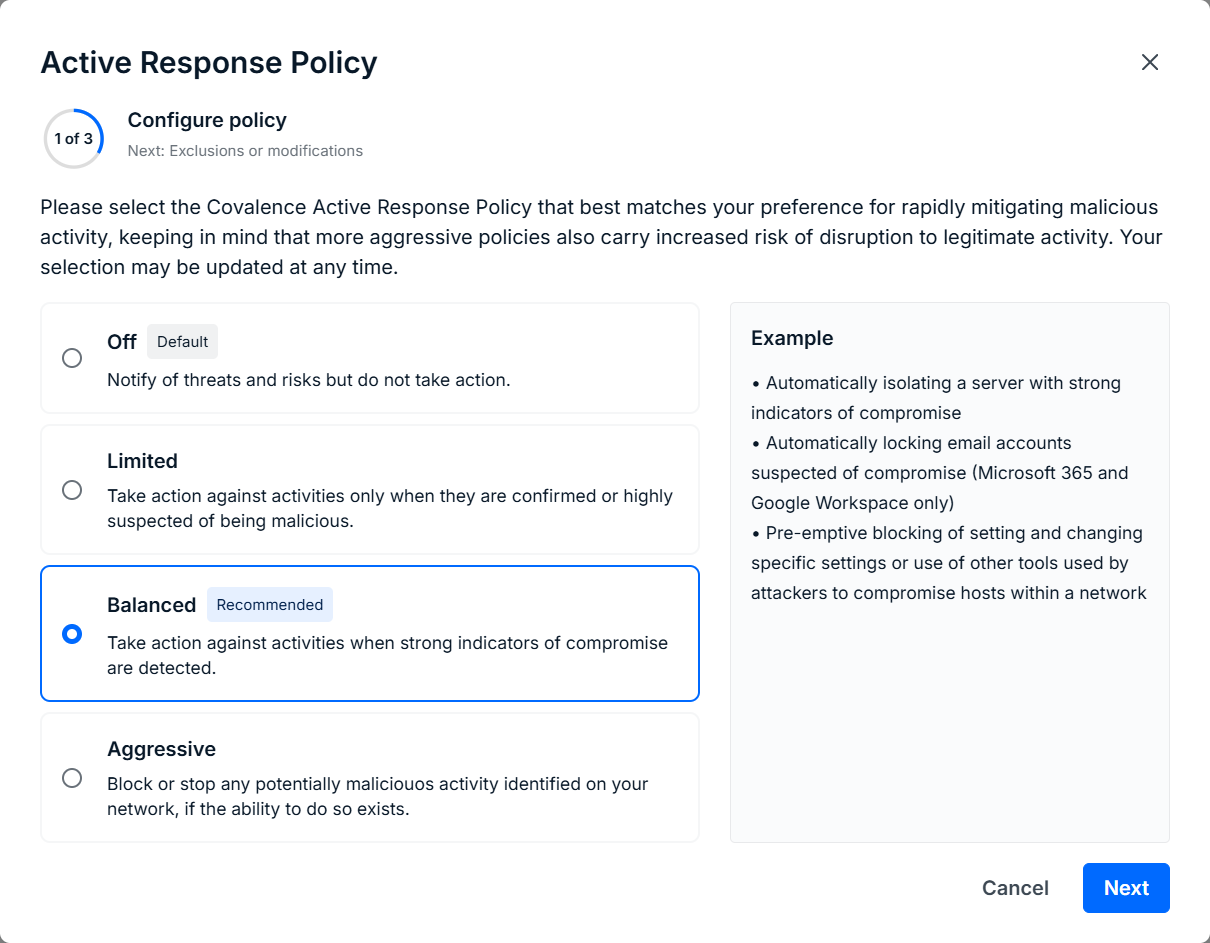
Select your Response Policy
- Select your preferred response policy and click next
- Visit Response Policies: Overview to learn more.
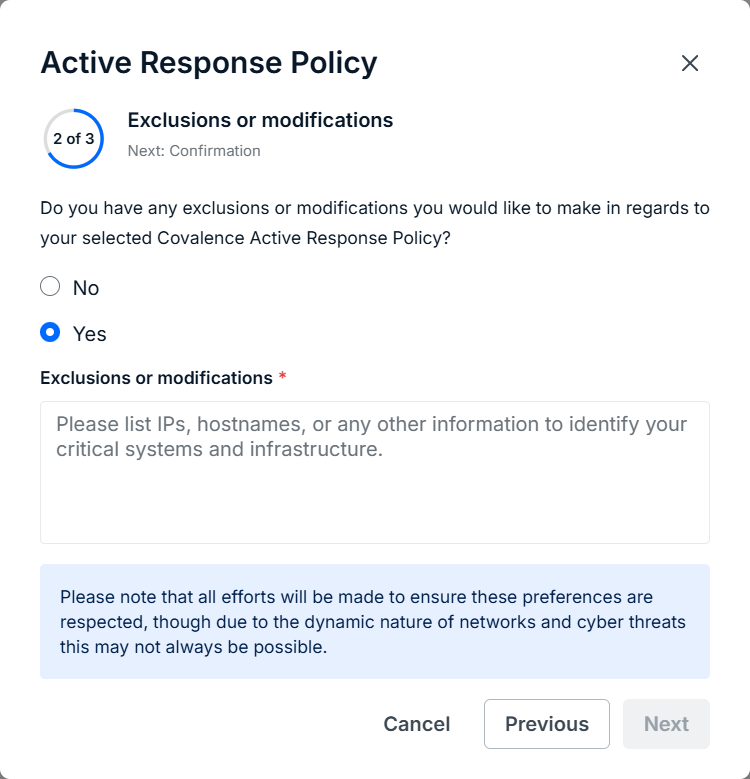
Modify and Customize your Policy (Optional)
- Select the Yes checkbox and add your requests and comments in the Exclusions or Modifications field. When ready, click Next.
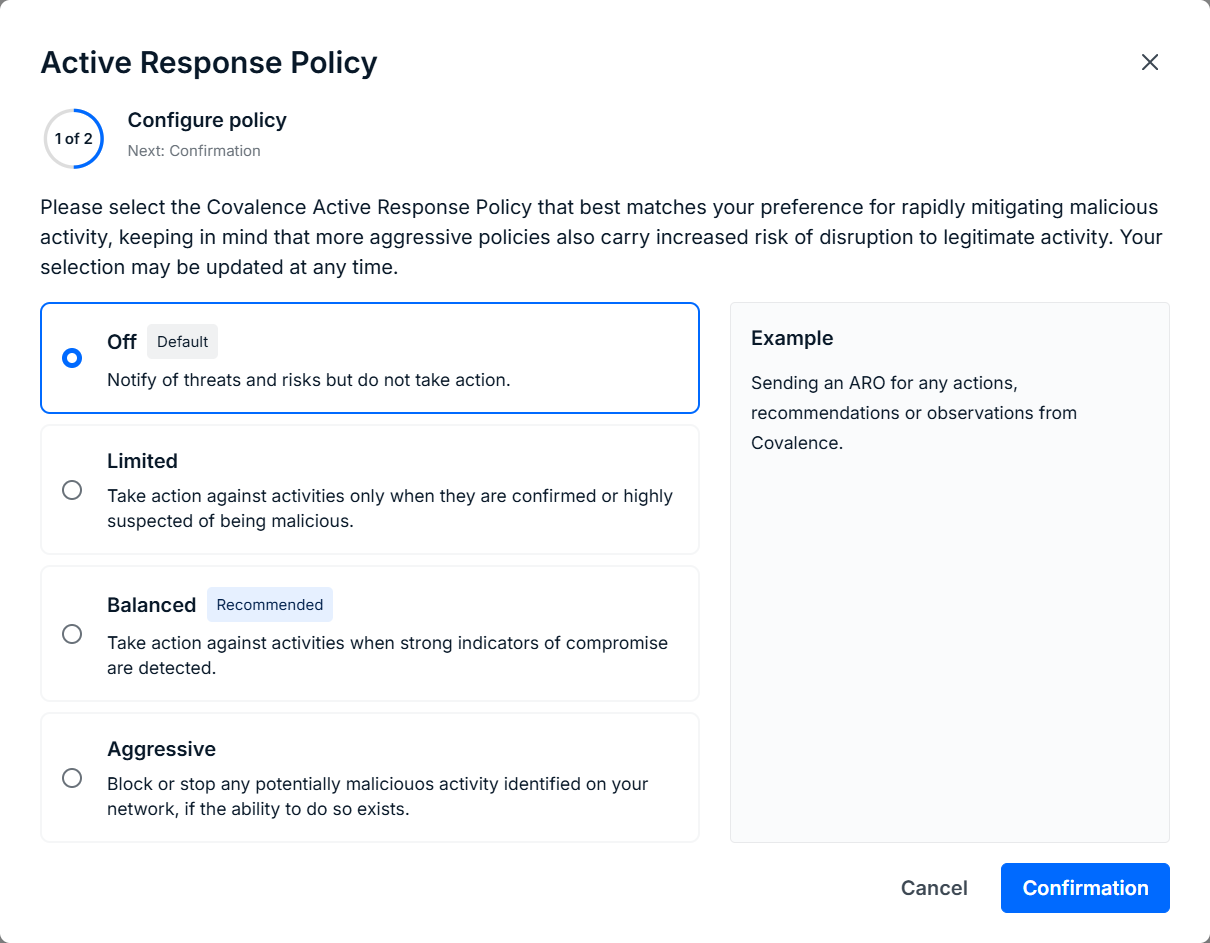
Confirm Your Choices
- On the final page, review your choices and click update to apply your response policy

Disable Active Response
This feature can either be disabled globally, or for specific users.
Disable the feature globally
If you decide that you want to disable Active Response globally, then you can do so by opening the Response Policy section and selecting Off instead of the current response policy.
Disable for specific users
If you need to disable Active Response for a device(s) use the Devices page's Bulk Edit functionality.
With bulk editing, you can disable agent protection for only the devices that need servicing, while keeping the rest of your fleet protected. See our Help Center article on Bulk Editing Endpoints.
Was this article helpful?
That’s Great!
Thank you for your feedback
Sorry! We couldn't be helpful
Thank you for your feedback
Feedback sent
We appreciate your effort and will try to fix the article