Introduction
Before using this feature, you need to enable the DNS Firewall (on-network or roaming).
While the DNS Firewall has default categories that can’t be changed, you can choose from a collection of additional categories that can be blocked by default.
This article walks through the process of selecting categories from our collection to block.
Adjusting the Categories
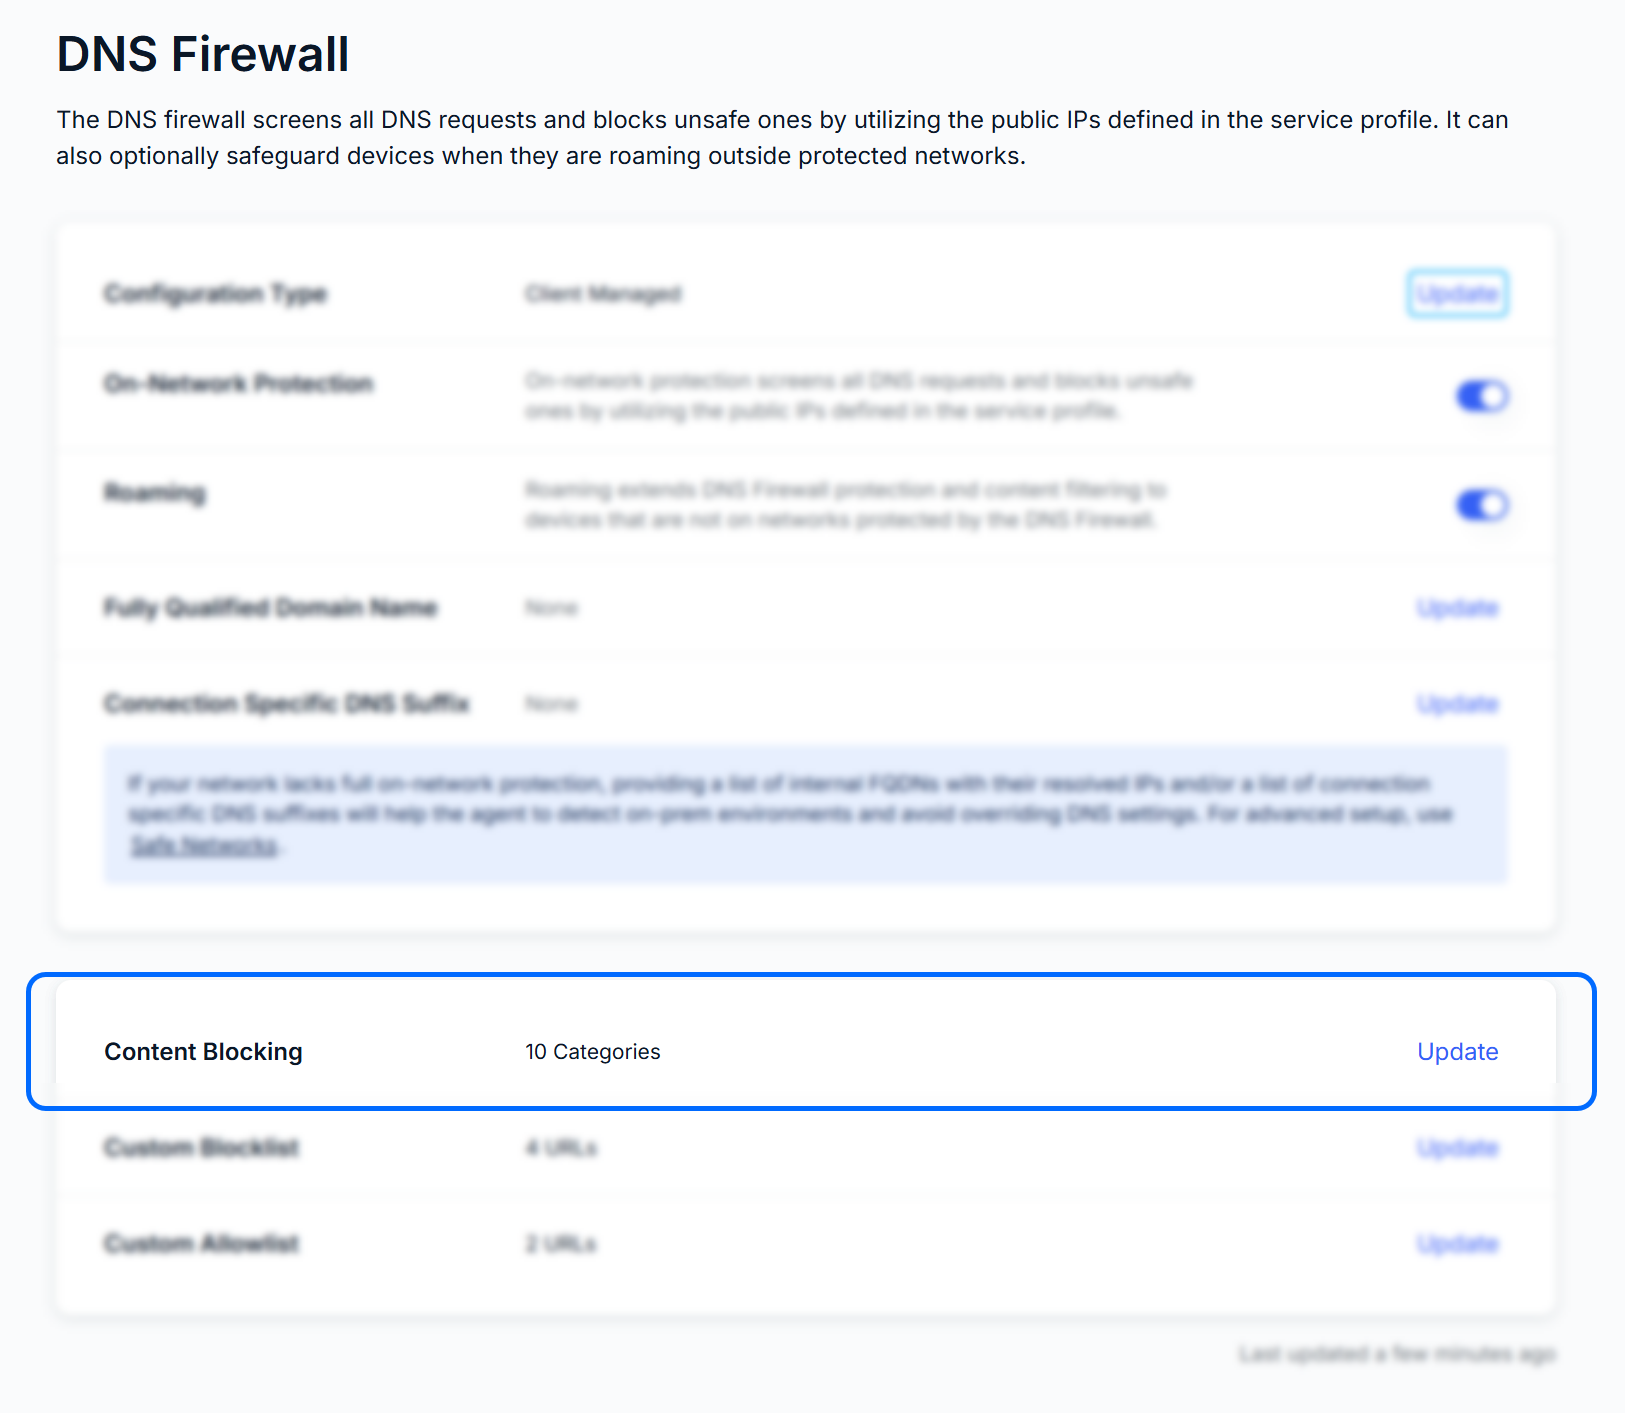
Navigate to DNS Firewall page (Administration section) and click the Content Blocking section.

The Content Blocking window will open. Use the check boxes to select which additional categories you want the DNS Firewall to block. Once your selections are made, click Update at the bottom of the window.

Some categories are enabled by default and cannot be turned off (marked grey)
You’ll be taken back to the main DNS Firewall page, and the Content Blocking Section will display the total number of categories being blocked, including default categories.
Was this article helpful?
That’s Great!
Thank you for your feedback
Sorry! We couldn't be helpful
Thank you for your feedback
Feedback sent
We appreciate your effort and will try to fix the article