Introduction
The MDR Portal's Onboarding Wizard guides you through your organization's essential setup tasks by providing a step-by-step experience to help ensure your environment is properly configured and protected.
This article explains how to use the Onboarding Wizard and describes each step in the onboarding process:
- Introduction
- Before you begin
- Accessing the Onboarding Wizard
- Tell Us About Your Organization
- Tell Us About Your Network
- Tell Us How to Respond to Threats
- Tell Us About Your Cloud Services
- Tell Us About Your Devices
- Your All Set
Before you Begin
Before using the Onboarding Wizard, ensure that:
- You have Administrator access to the MDR Portal.
- You have signed in to the MDR Portal for the first time.
- You have the necessary information about your organization, network, and users available.
Note: The tasks presented in the Onboarding Wizard may vary depending on your organization's deployment requirements and licensing
Accessing the Onboarding Wizard
When you first sign in to the MDR Portal as an administrator, the Onboarding Wizard launches automatically. If you exit the wizard before completing all tasks, you can return to it later.
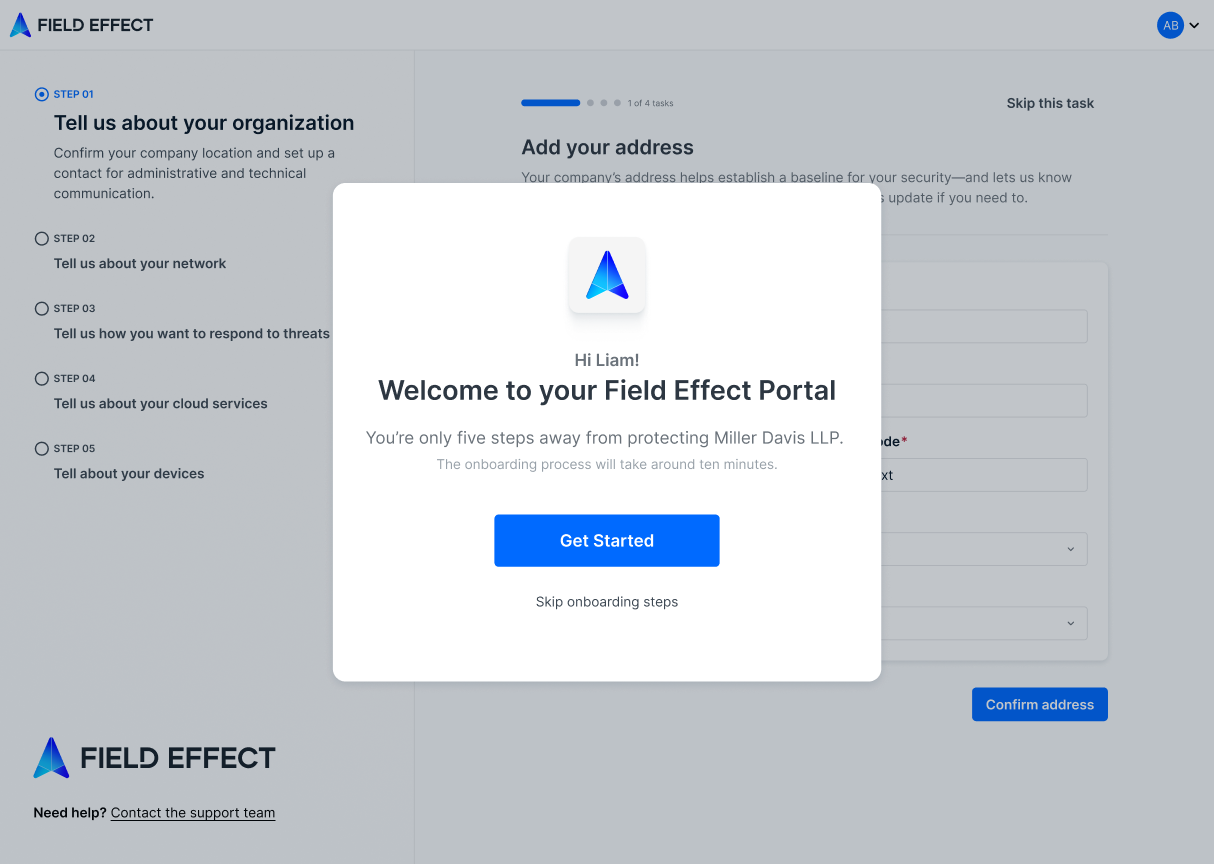
Tell Us About Your Organization
In this step, you need to provide information about your organization that helps Field Effect understand your network and who to contact in routine and emergency scenarios. This information is stored in your Organization Profile information.
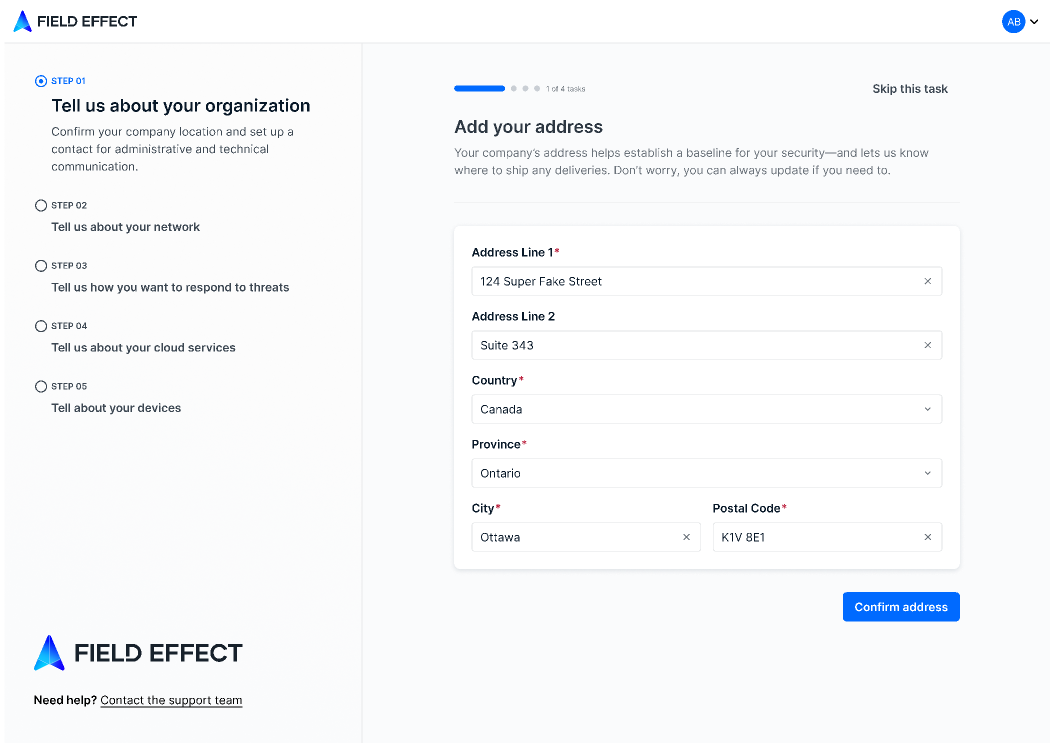
Tell Us About Your Network
For this step, you need to provide information that helps Field Effect understand your threat surface and tailor monitoring for your IT infrastructure. This information is stored in your Monitoring Profile.
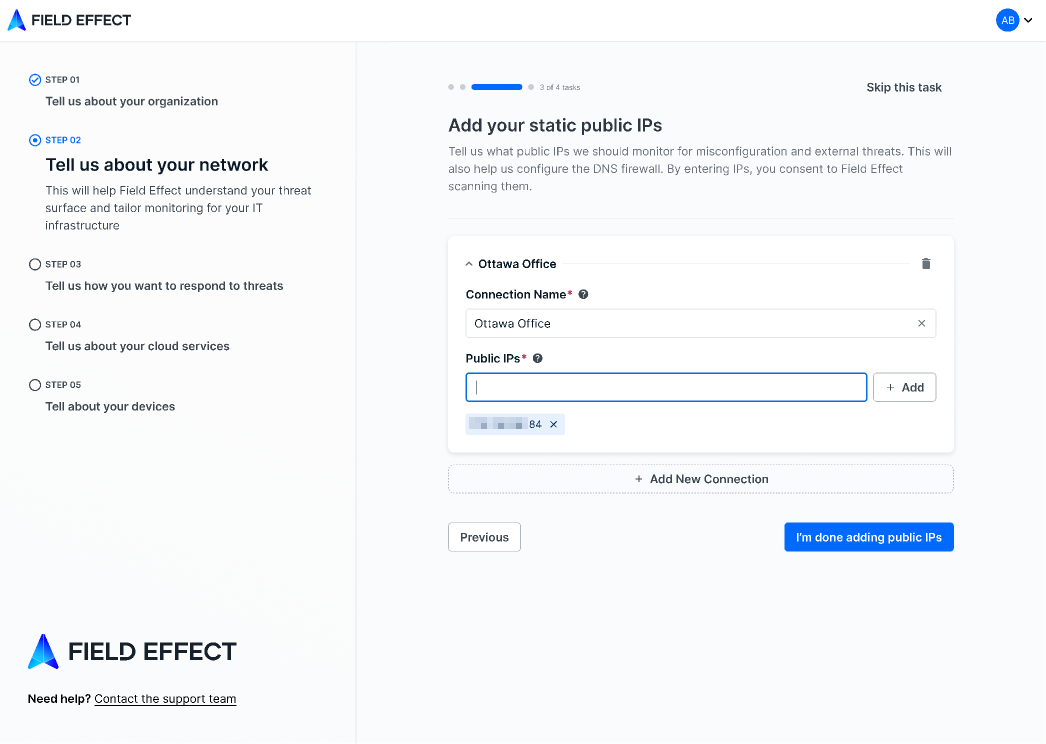
Tell Us How to Respond to Threats
For this step, set up your Active Response profile to further tailer your Field Effect experience.
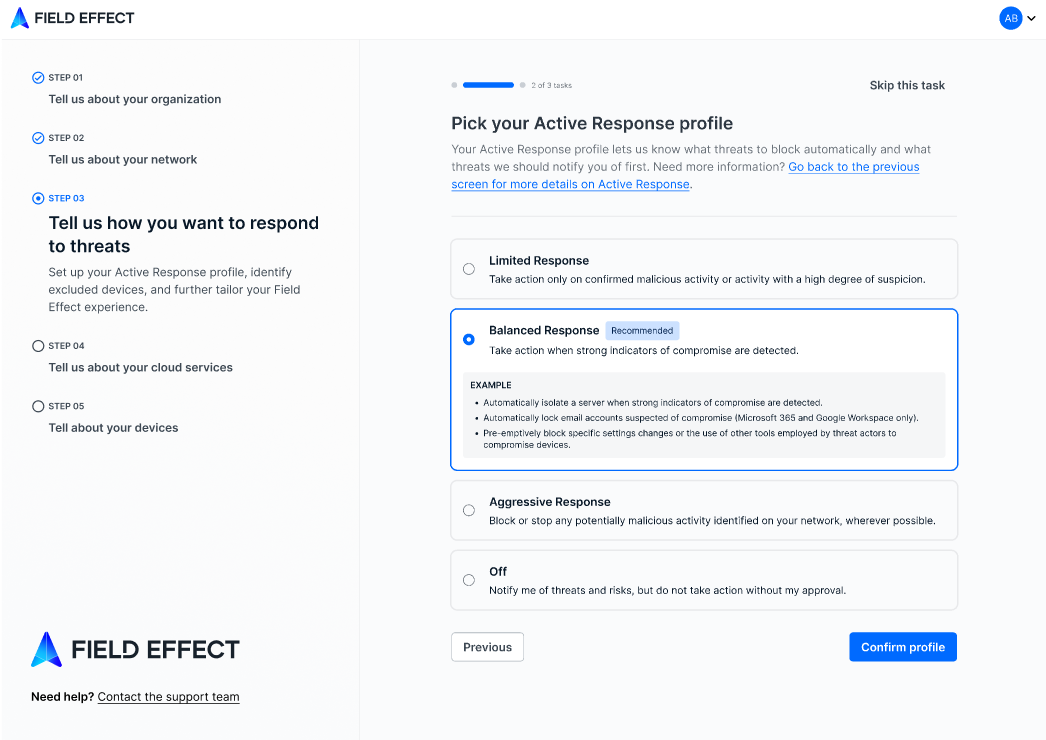
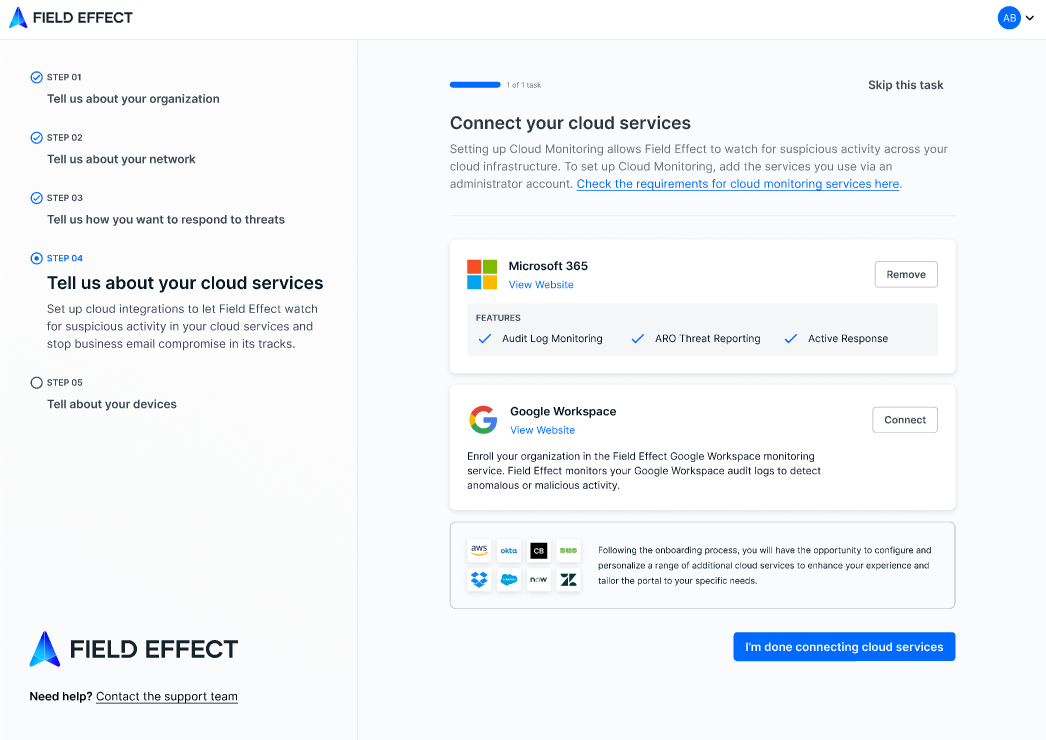
Tell Us About Your Cloud Services
For this step. set up cloud integrations to let Field Effect watch for suspicious activity within you cloud services.
To progress through this step, select your cloud services and provide the required credentials for the service. See our integrations chapter for more on this.
If enabled, Active Response can be added to Google Workspace and Microsoft 365 when setting up the integration. Select "Standard" to allow Active Response to respond to cloud threats, or select "Limited" to exclude it.
Tell Us About Your Devices
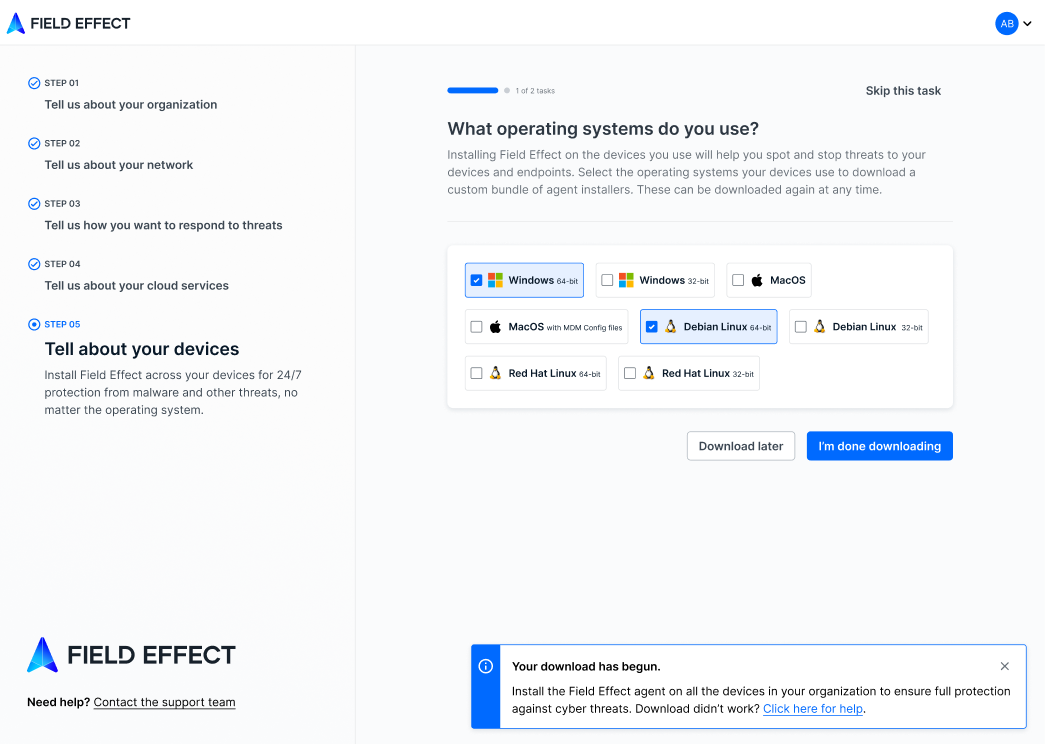
This step gives you the opportunity to select and download installers (unique to your organization) for our endpoint agent. Download the installers your organization needs and deploy them using your preferred method.
See our Endpoint Agent chapter for more on this.
Your All Set
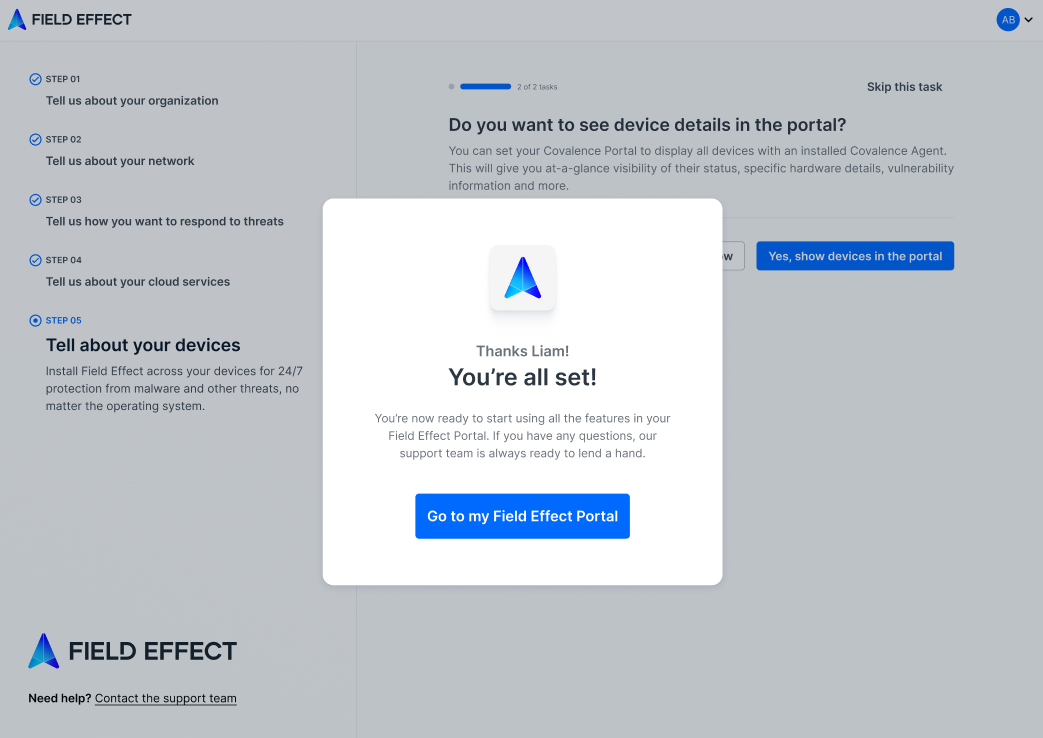
Once you progress though all the steps, you will be shown a confirmation banner where you can access the MDR Portal.
All of the features outlined in this wizard can be accessed within the MDR Portal, so if you need to skip sections, you can return to them when ready.
Was this article helpful?
That’s Great!
Thank you for your feedback
Sorry! We couldn't be helpful
Thank you for your feedback
Feedback sent
We appreciate your effort and will try to fix the article